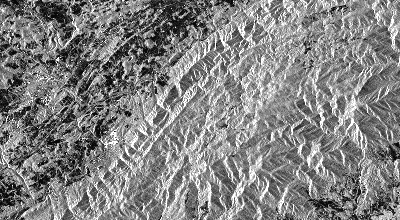
Detail of the Blue Ridge Mountains in the recipe’s sample granule. ©JAXA/METI 2008.
Background
This data recipe is for users who wish to view and geocode CEOS format files using ASF’s MapReady software. (Without these steps, users can view only a jpeg browse image included with the products.) Data in CEOS format, available through the ASF DAAC, includes Level 1 JERS, ERS-1, ERS-2 and RADARSAT- 1, as well as Level 1.5 ALOS PALSAR.
ASF uses the CEOS (Committee on Earth Observation Satellites) format to release a number of historic SAR products. The CEOS format was originally developed to create a standard file format for the remote sensing community. Inconsistencies in adoption and vagueness in the original specifications, however, led to a number of different CEOS “flavors,” of which ASF’s is one.
Prerequisites
Materials List:
- Windows PC
- ASF MapReady
- CEOS format data granule (sample granule)
Steps
Download Material
- Download ASF MapReady
- Install MapReady using the Installation Wizard
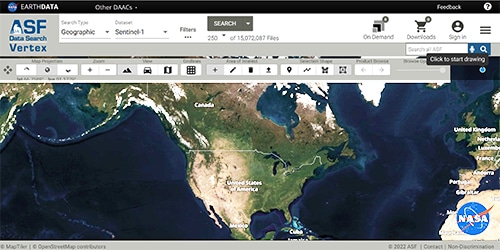
- Download a CEOS-formatted data granule from Vertex (CEOS-formatted datasets include Level 1 JERS-1, ERS-1, ERS-2 and RADARSAT-1, as well as Level 1.5 ALOS PALSAR) or use the sample granule.
- Create a working directory and extract the .zip file.
View Data — Two Options
Option 1 — View Only
Note: This option simply opens the granule for closer inspection. See Option 2 for projection and conversion to GeoTIFF.
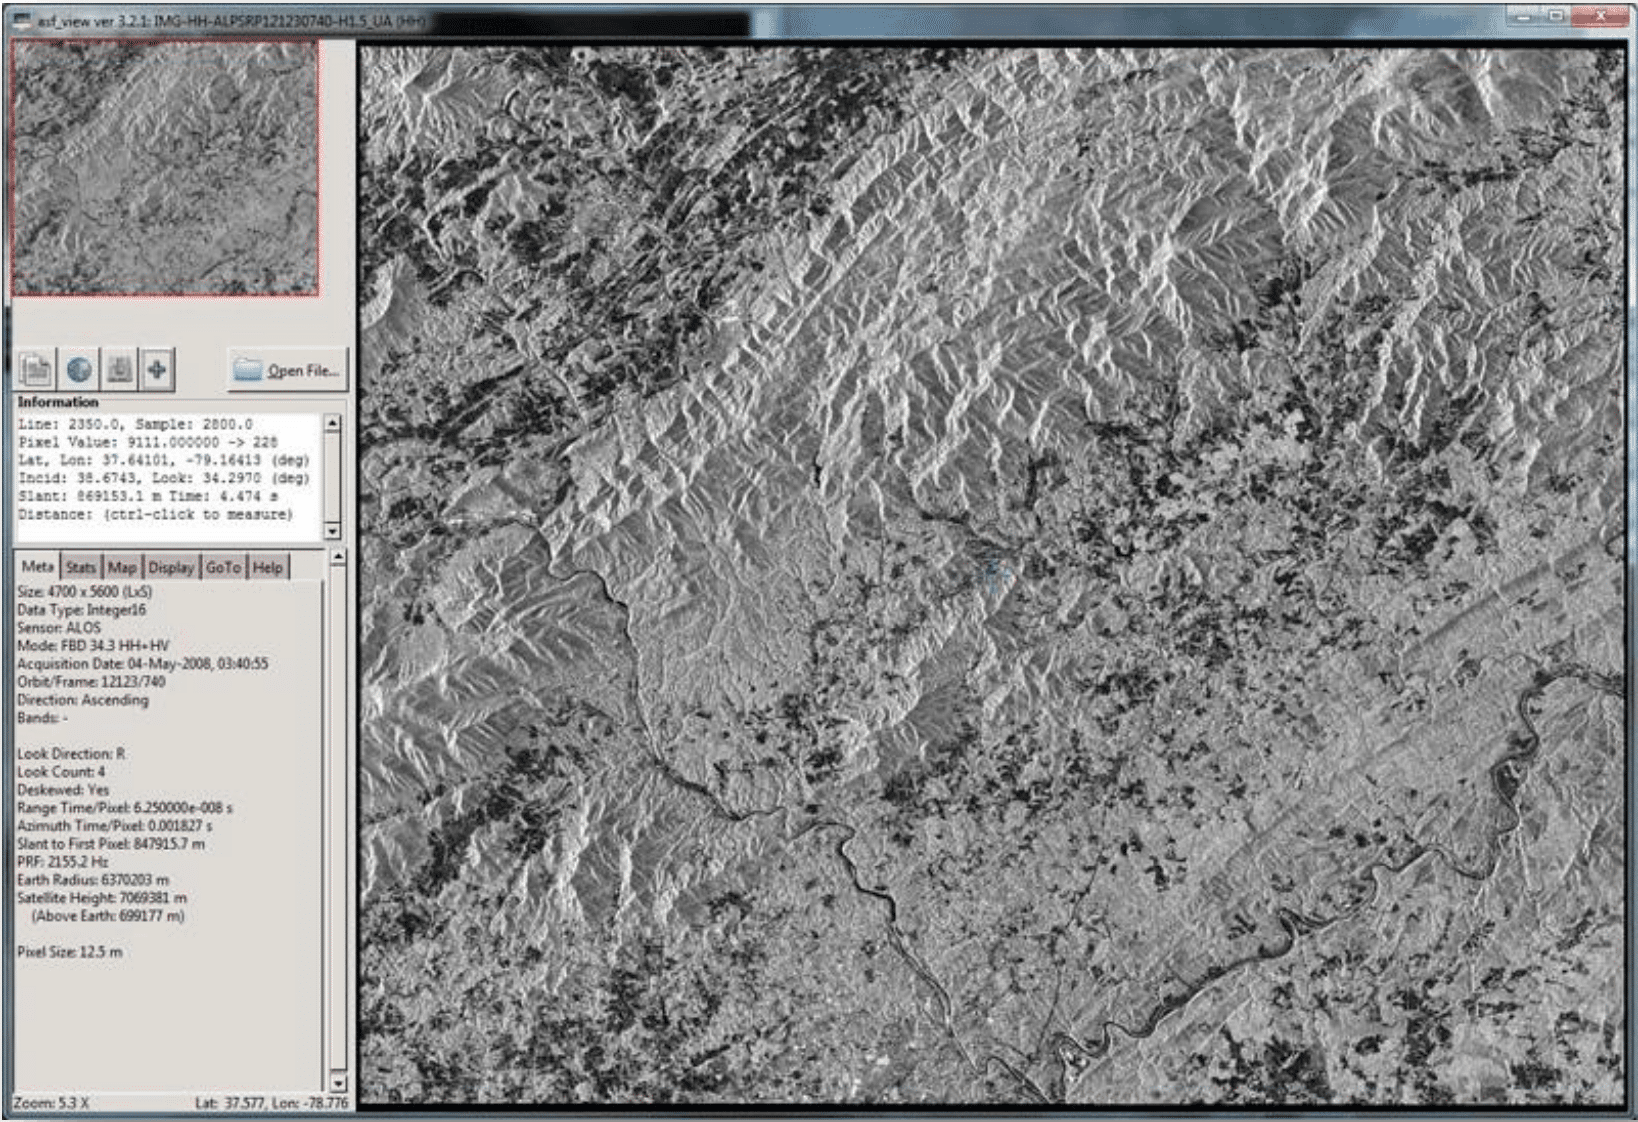
- Open ASF View
- Click the Open File… button in the sidebar
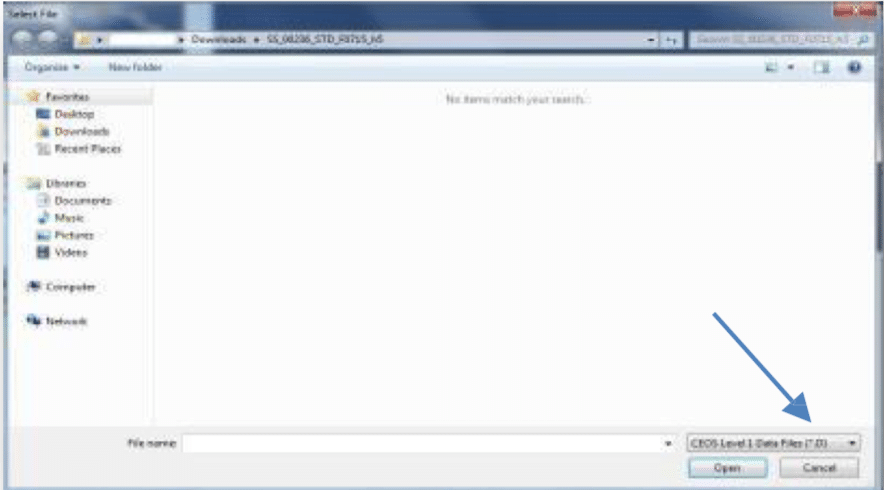
- In the Select File menu, change the data type to CEOS Level 1 Data Files for non-PALSAR data or to ALOS Image for PALSAR data
- Navigate to your working directory.
- Double-click an image file to open it in the View window
Hint: Press the End key on your keyboard to view the entire image.
Option 2 — Geocode and Export to GeoTIFF in MapReady
Note: This option creates a GIS-ready GeoTIFF in a projection of your choice.
- Open ASF MapReady
- In the Input Files section, ensure Add: is set to CEOS Level 1 and click Browse…
- Change the Select File menu to CEOS Level 1 Files for non-PALSAR data, or to ALOS Image for PALSAR granules, and navigate to your working directory.
- Double-click an image file to load it into MapReady
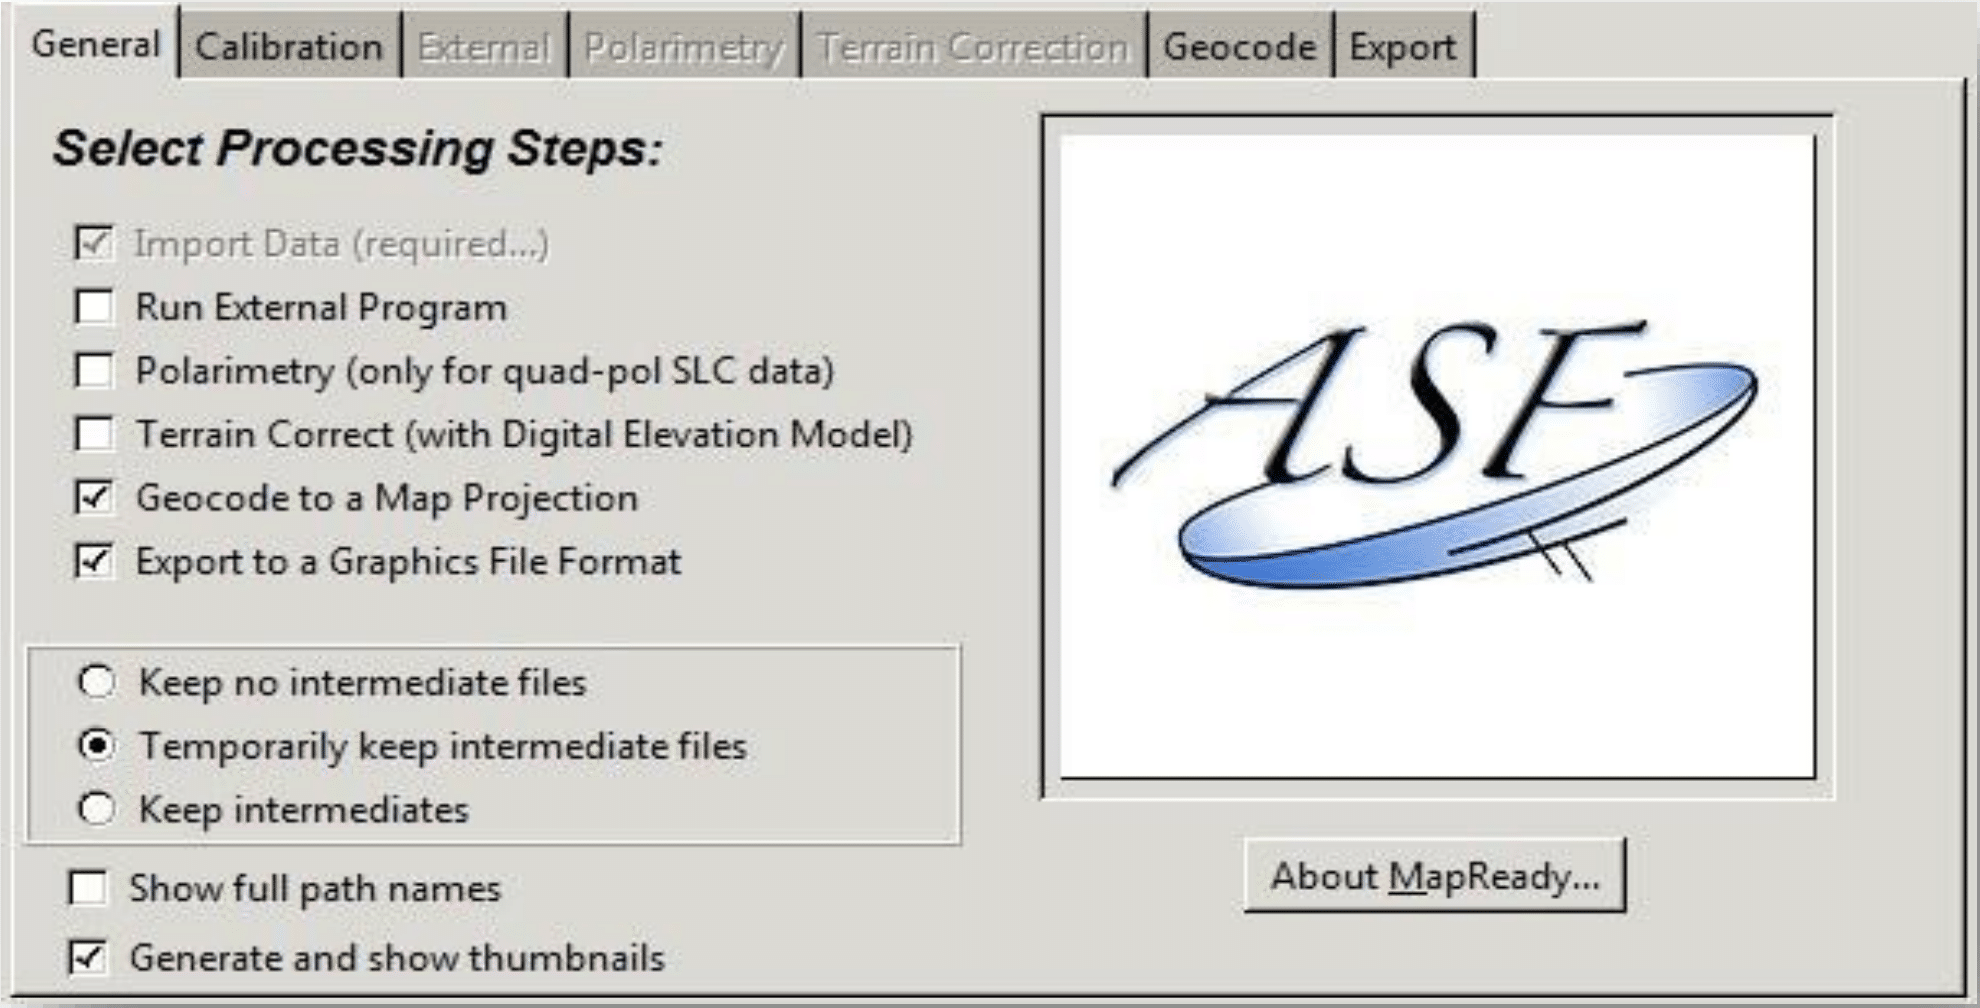
- In the General tab under Select Processing Steps, check Geocode to a Map Projection and Export to a Graphics File Format
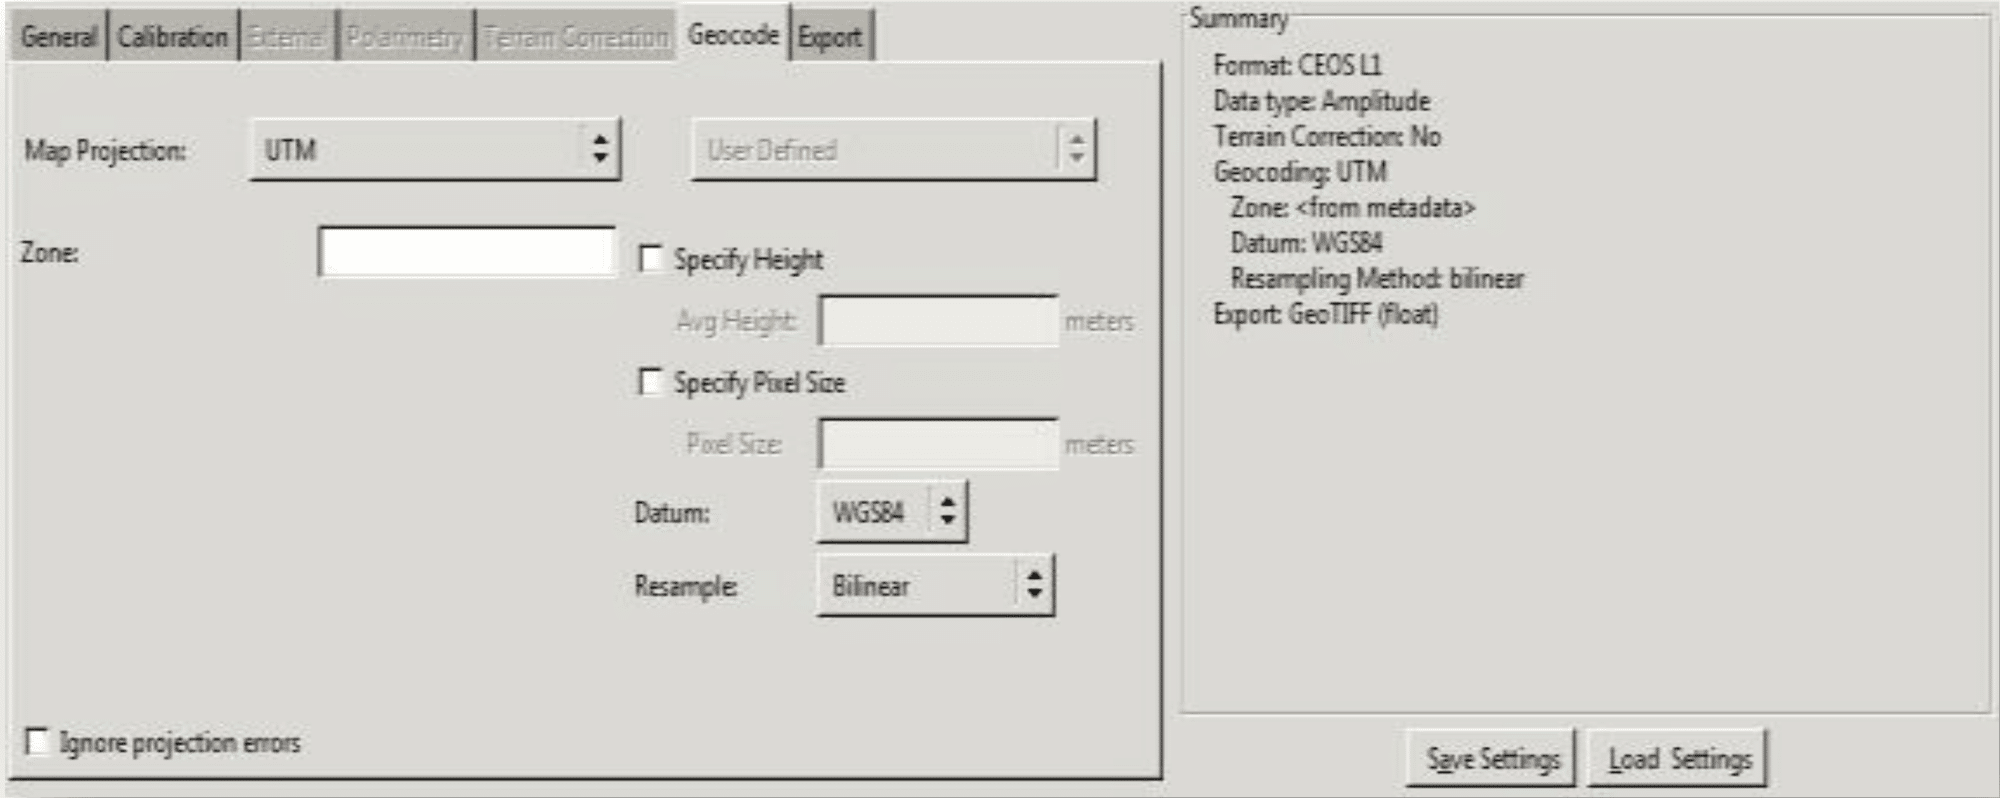
- Click on the Geocode tab, and select a Map Projection.
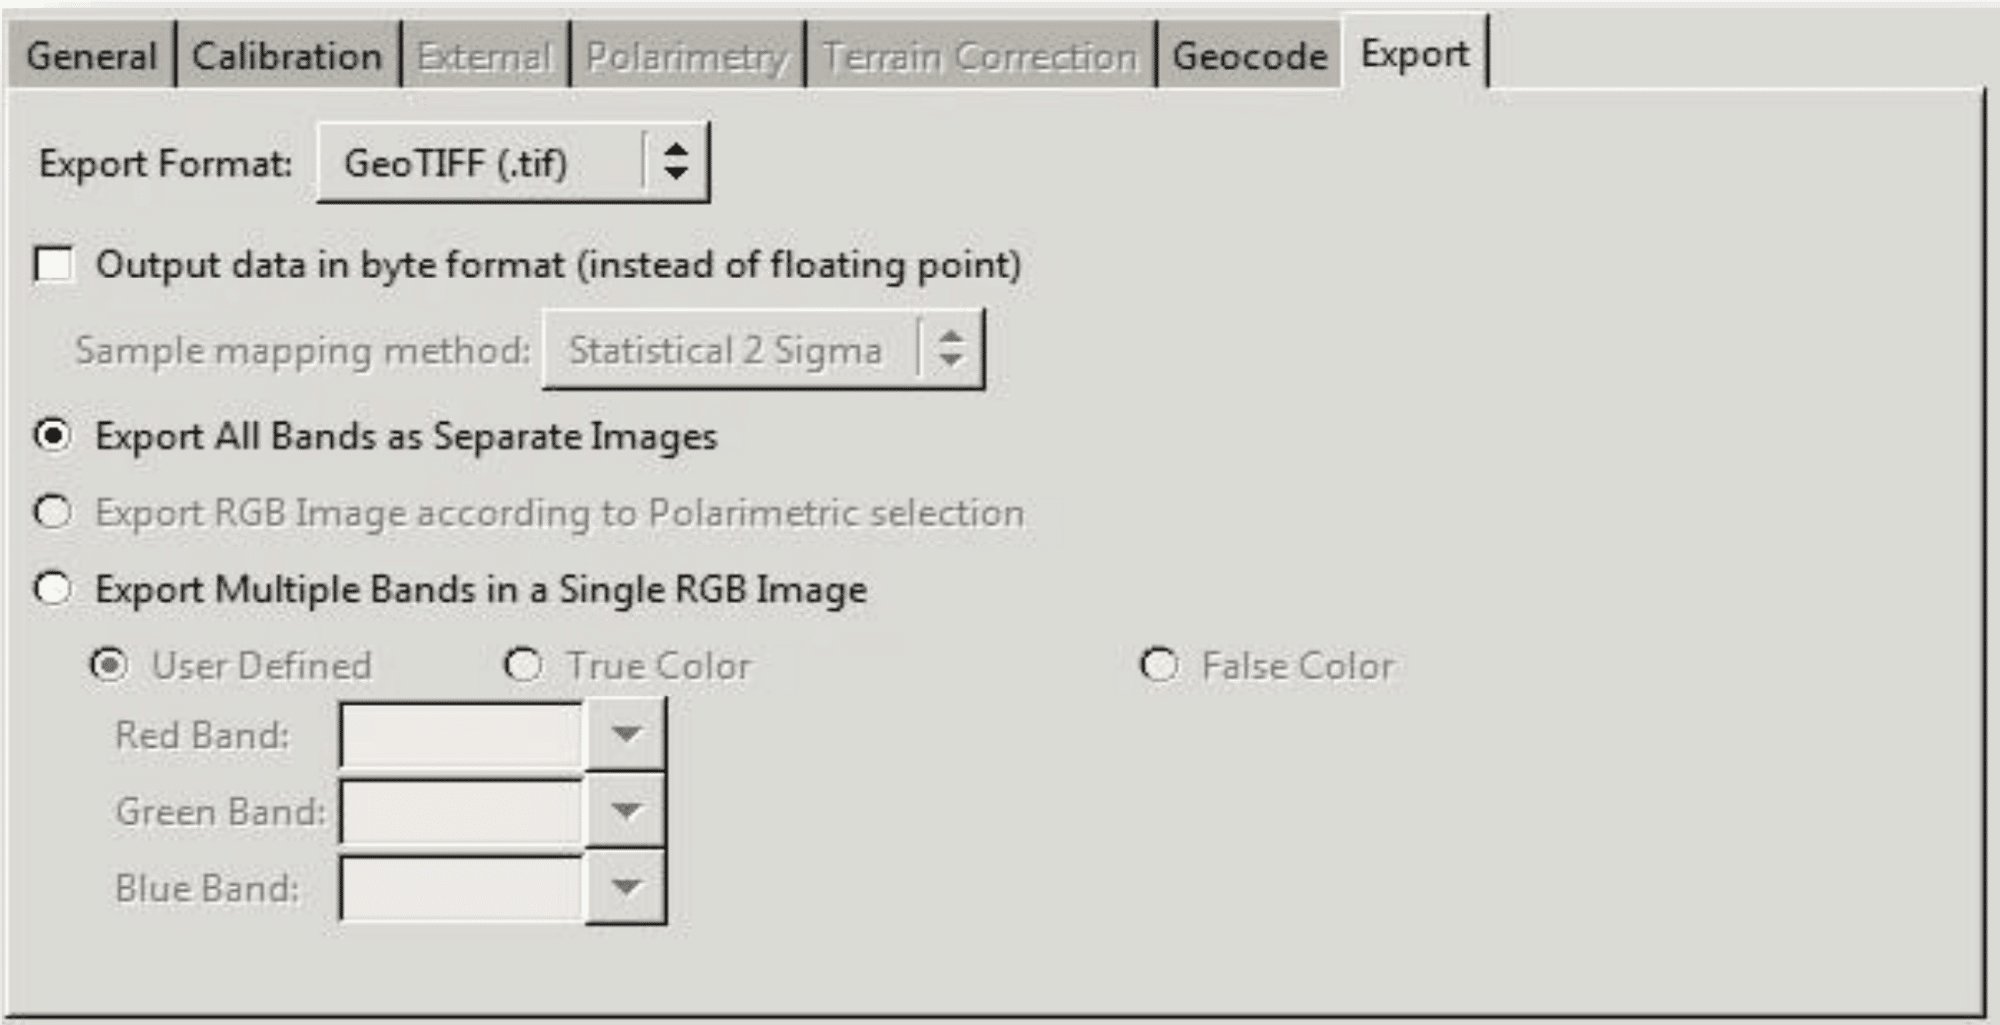
- Change tabs to Export and select GeoTIFF from the Export Format: dropdown.
- Finally, set a Destination Folder under Output Settings and click Process All to run the Geocoding process.


