Background
When you have created and launched an AWS Linux EC2 instance, you can connect to it from your computer using the SSH protocol. PuTTY is a free SSH client that allows you to do this from a local computer running Windows. Once the connection has been established, you work within the EC2 instance just like you would on a local computer running Linux.
Prerequisites
- You must have an AWS account. If you don’t have an account, create one now.
Note: You will need to provide credit card information for your new account.
- You will need to create and launch a Linux EC2 instance to connect to. Instructions for this are found in the How to Create a Basic Elastic Cloud Compute (EC2) Instance data recipe.
Generate a PuTTY Private Key (.ppk) File
- Download and install PuTTY.
- Open the folder that PuTTY was installed to (default path is C: > Program Files > PuTTY).
- Double-click on the file puttygen.exe.
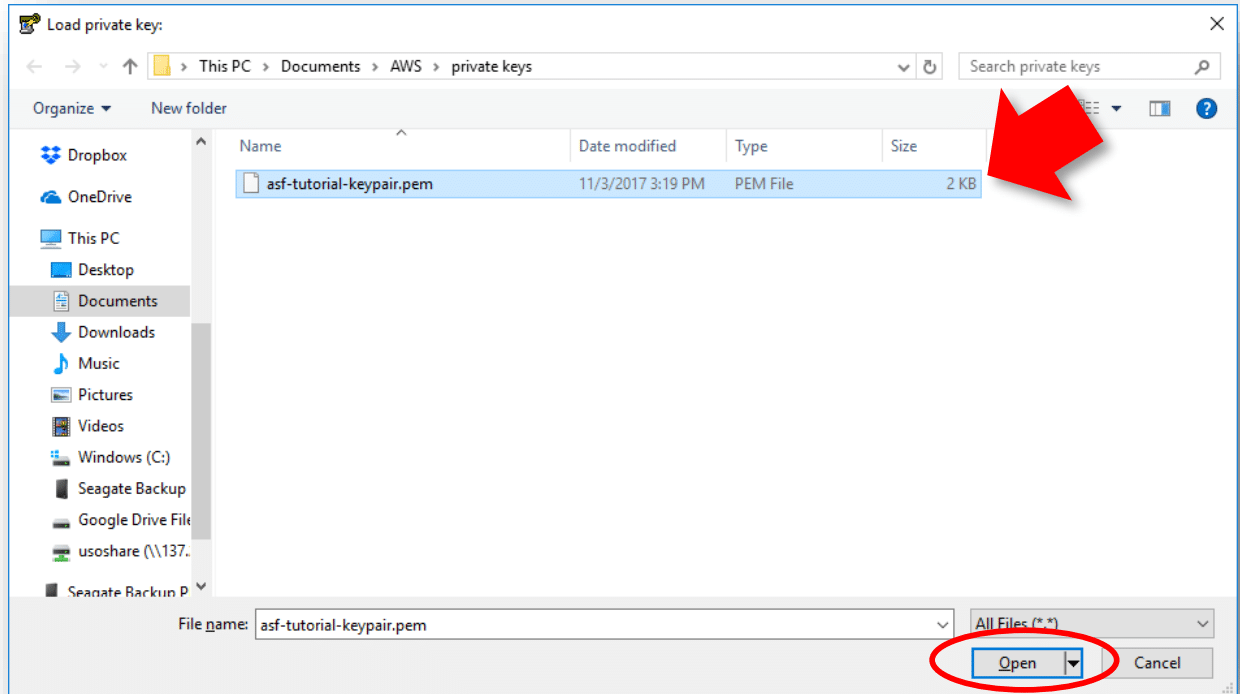
- In PuTTY Key Generator, click the Load button and navigate to the folder that contains the private key file (.pem) created during the EC2 configuration process.
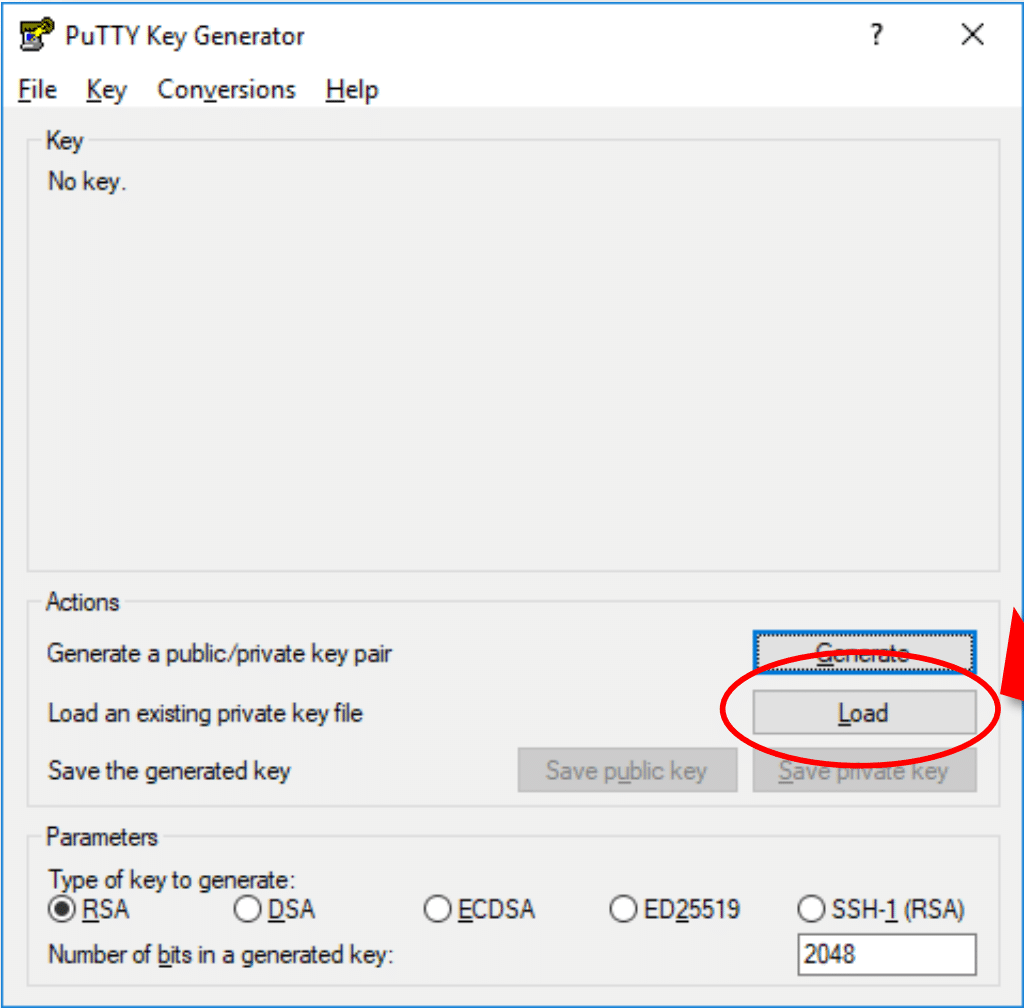
- Click on the PuTTY Private Key Files button in the lower-right corner of the window and select All Files (*.*).

- Select your private key file (.pem) and click Open.
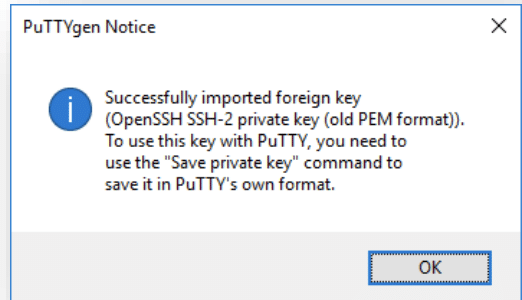
- Click OK to close the PuTTYgen Notice pop-up window.
- In PuTTY Key Generator, make sure Type of key to generate value is set to RSA.
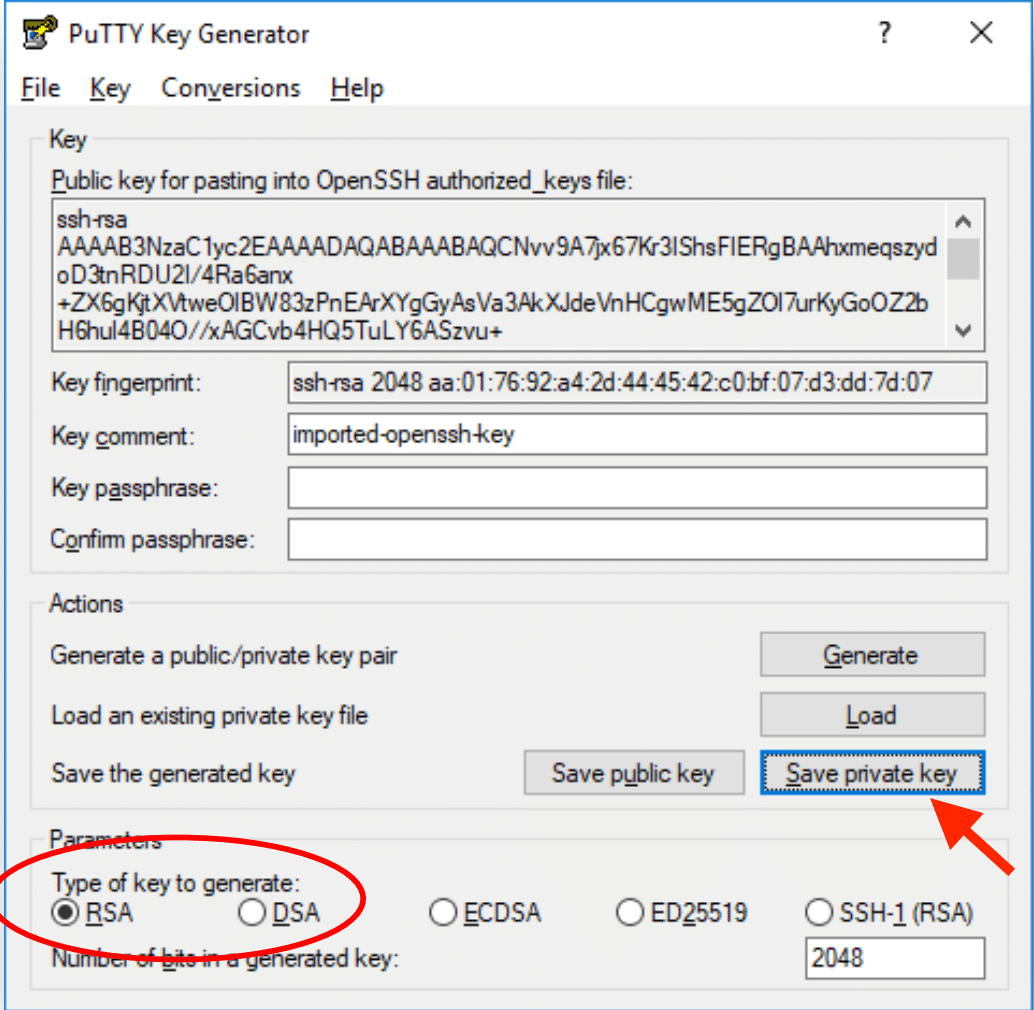
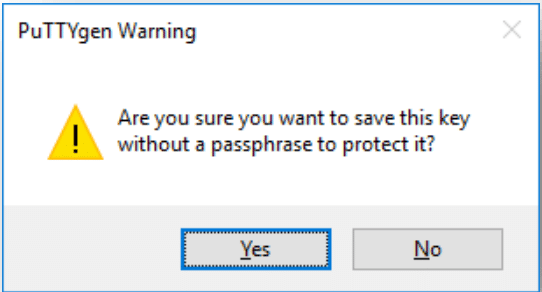
- Click Save private key and then Yes to close the PuTTYgen Warning pop-up.
- Navigate to the location you want to store your PuTTY Private Key file (.ppk) and give it a name.
- Click Save.
- Close the PuTTY Key Generator window.

Connect to EC2
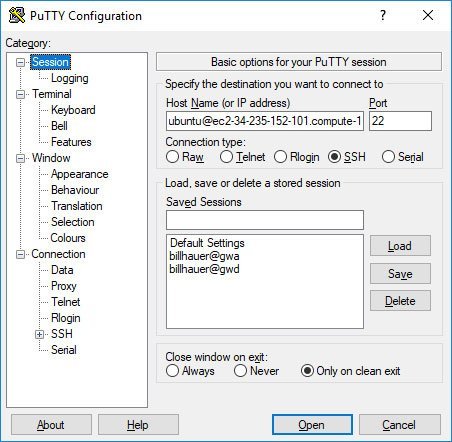
- Open PuTTY by clicking on the desktop icon or the putty.exe file in the PuTTY folder.
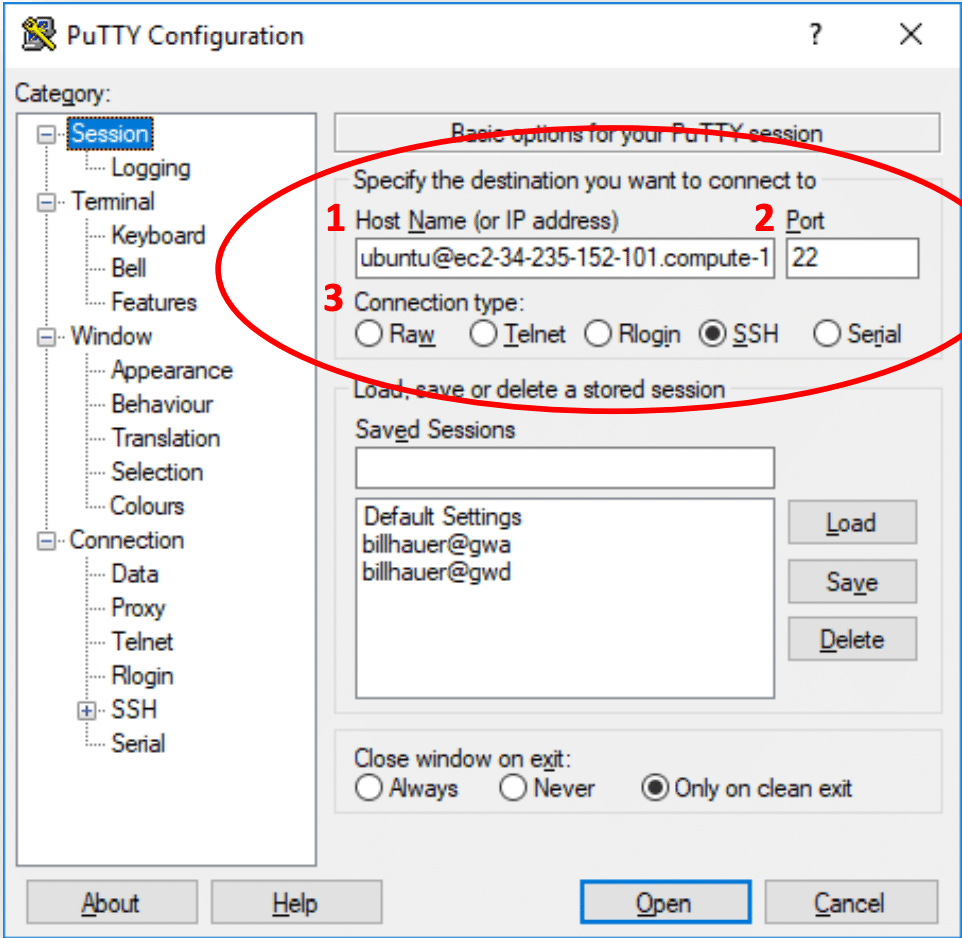
- In the Host Name (or IP address) box, type “ubuntu@your_public_DNS” (1).
Note: The Public DNS for your instance is displayed in AWS in the EC2 Management Console Instance Description in the middle of the screen.
- Make sure:
- Port is set to 22 (2).
- Connection type is SSH (3).
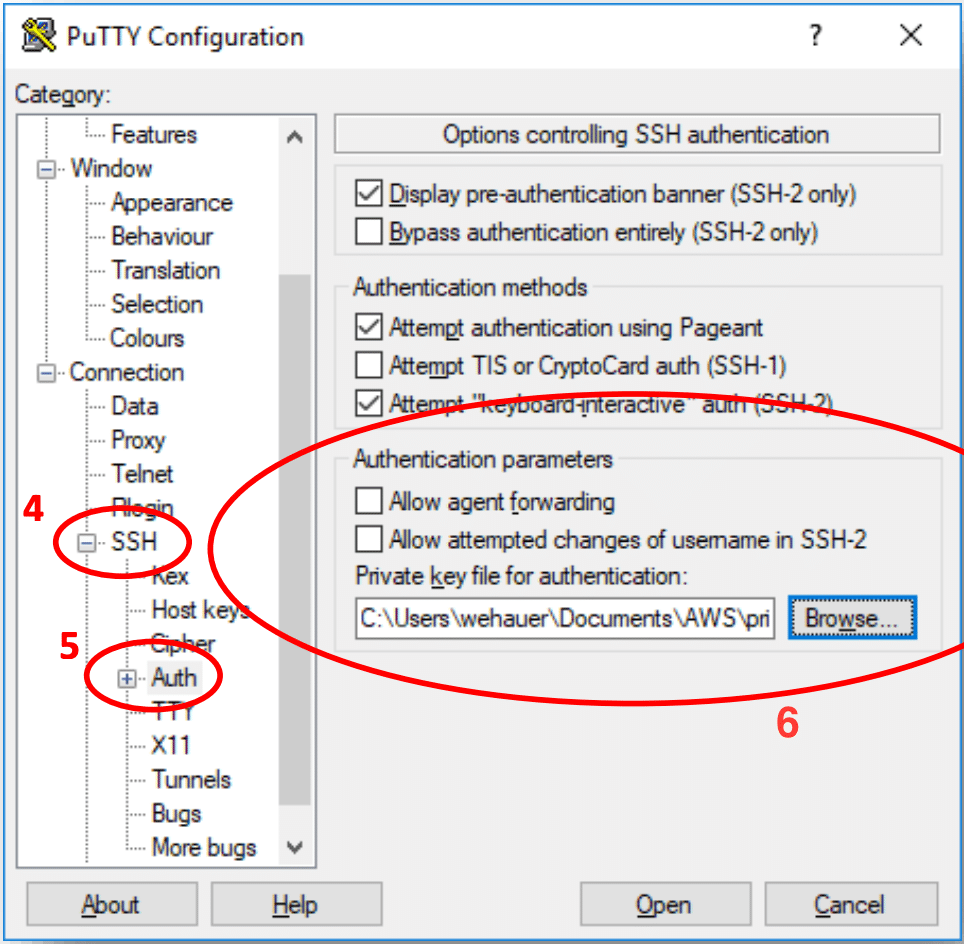
- In the Category pane on the left of the PuTTY Configuration window, under Connection, click on the + next to SSH to expand the choices (4), then click on Auth (5).
- Under Authentication parameters, click Browse and navigate to the directory where your PuTTY Private Key (.ppk) file is located (6).
- Click on the (.ppk) file to select it.
- Click Open.
- Make sure:
Note: If you want to save these settings to use later, navigate to Sessions in the PuTTY Category tree. Enter a name in the Saved Sessions box and click Save on the right.
- Click Open in PuTTY Configuration to connect to your Instance.
- If this is the first time you have connected to your Instance, a PuTTY Security Alert will ask you whether to proceed with the connection.
- Click Yes to complete the connection.
- The EC2 Instance window will appear (black screen below).
- Click Open in PuTTY Configuration to connect to your Instance.