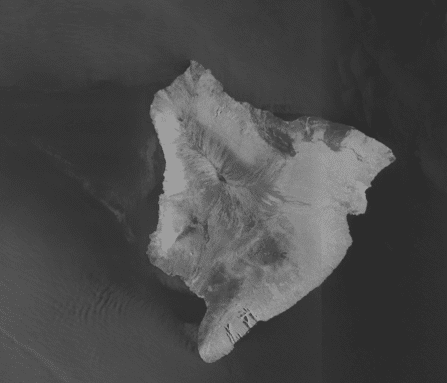
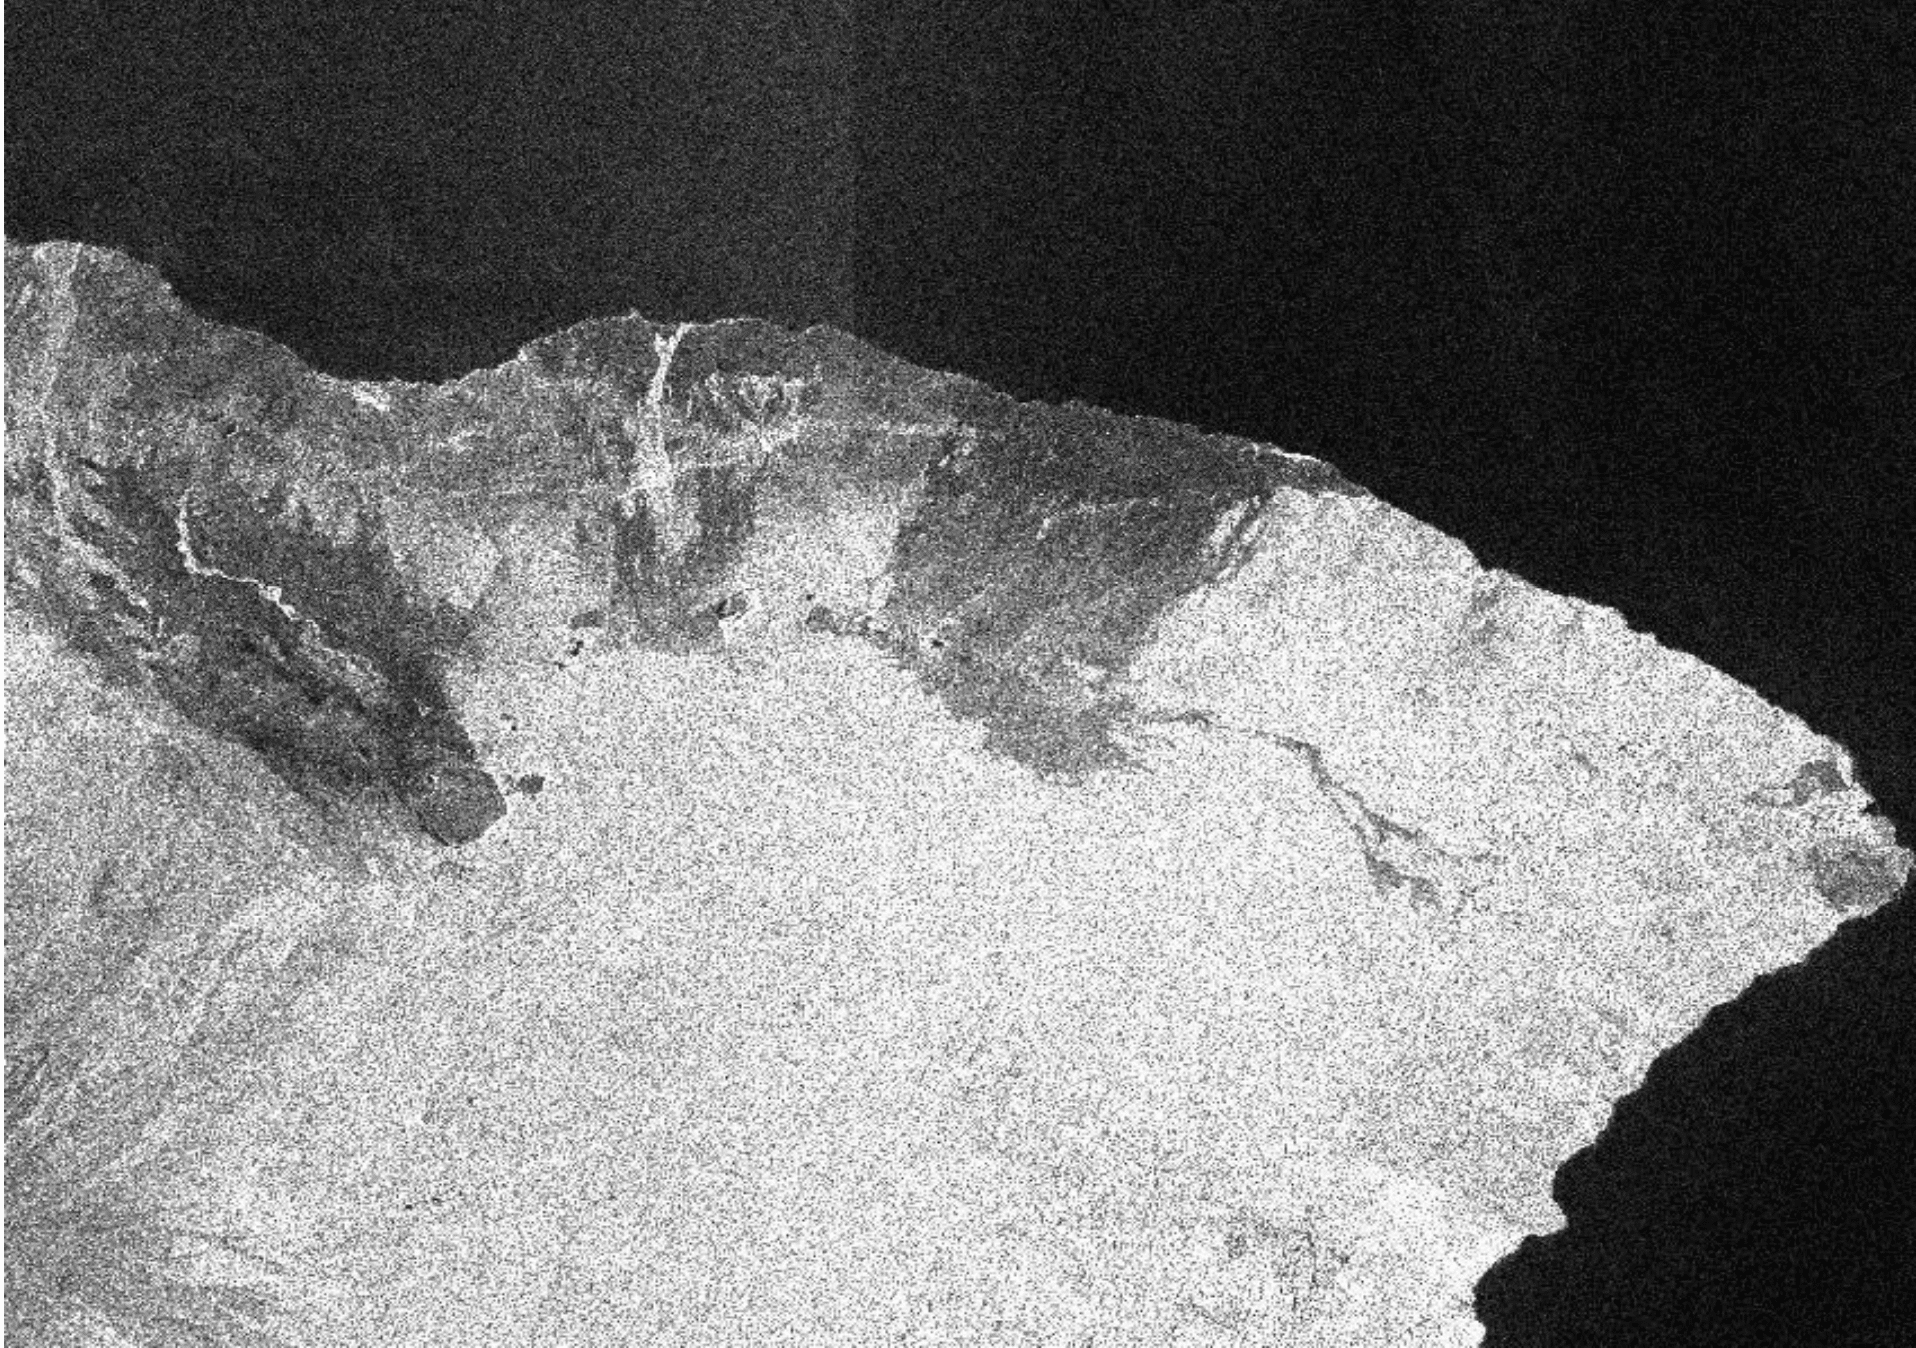
A Sentinel-1 image of Hawaii’s Big Island before subsetting. Credit: Copernicus Sentinel data 2018, processed by ESA.
Source: ASF Staff
● Easier
Background
At times, the area covered by a downloaded product is much larger than the area of interest. Processing a large image requires more time and computer power than what is necessary. Creating a subset is an easy way to improve efficiency in workflow. This recipe will go over the basic steps to get started in the Sentinel-1 Toolbox and to create a subset of your desired area of study.
Prerequisites
Materials List
- Latest version of the Sentinel-1 Toolbox
- One Sentinel-1 GRD product
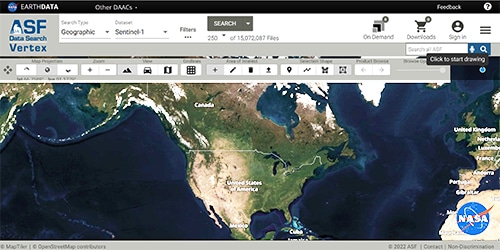
- Use ASF’s Vertex data portal to download a product
OR
- Download the same product used in this recipe
System Requirements
- Windows or Mac OS X
- 8 GB RAM
Steps
Download Materials
- Download the Sentinel-1 Toolbox from the European Space Agency website. Select the correct version for your operating system.
- Install the software by following the instructions provided in the installation wizard.
- Create a new folder to hold Sentinel-1 data and name it (example name: Sentinel_RTC_S1TBX).
- Acquire a Sentinel-1 product covering your desired area using one of these methods.
- Use ASF’s Vertex data portal to download a product.
- Download the data used in this recipe.
- Create a new, appropriately-named folder and move your product there.
- Download the Sentinel-1 Toolbox from the European Space Agency website. Select the correct version for your operating system.
Open the Products in Sentinel-1 Toolbox
- Open the Sentinel-1 Toolbox
- Use the Open Product button in the top toolbar and browse to the location of the product you downloaded.
- Select the product and click Open.
Note: Do not extract the files, if you did unzip the files, select the manifest.safe file from each Sentinel-1 product folder instead.
View the Products
- In the Products Explorer located on the left side of the screen, you will see the opened products.
- Double-click on the product to expand.
- Expand the bands folder and you will find two bands: an amplitude band, which is actually the product, and a virtual intensity band which is there to assist you in working with the data.
- To view the data, double-click on the Amplitude_VH band. The sample product shows the entirety of Hawaii’s big island on May 8th, 2018, amidst that year’s eruption of the Kilauea Volcano.
Create Subset
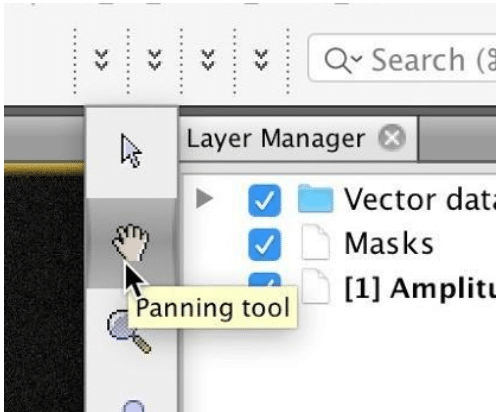
- Using your mouse-wheel to zoom and left-click to drag (to do this, you must select the panning tool), center your view on the area you wish to study. In this recipe, we will focus on the region surrounding the Kilauea Volcano and the East Rift Zone.
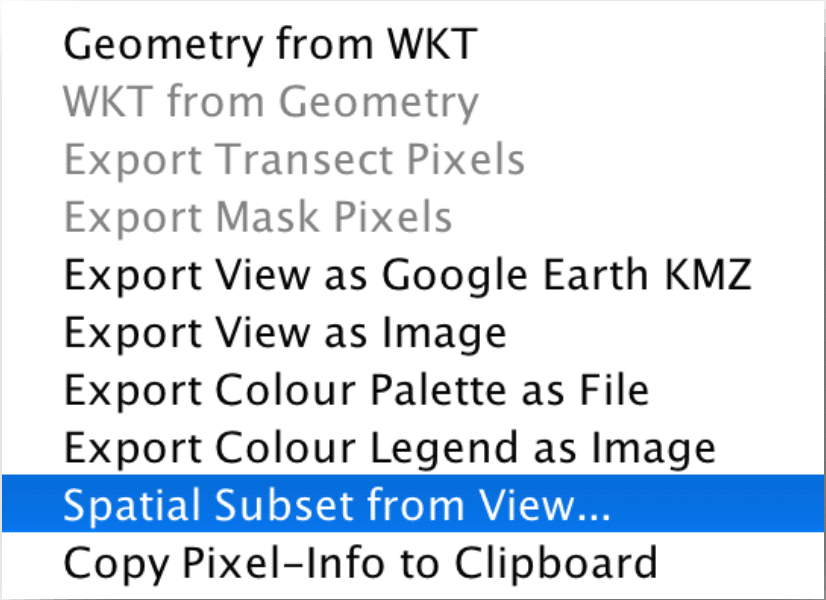
- Right-click in the view area and select Spatial Subset from View.
- In the Product Subset window view, further adjust your subset by using your mouse to move the sides on the blue rectangle outline. You can also fine-tune your subset by entering values in the four boxes under the Pixel Coordinates and Geo Coordinates tabs. Manually selecting geo-coordinates is helpful if you wish to create identical subsets of multiple products.
- Click OK, return to the Products Explorer located on the left side of the screen. You will see a new product with the prefix subset_.
- Double-click on this subset product to expand, then expand the Bands folder and double-click on the Amplitude_VH band to view the image. This product should now only show the Kilauea region of the island.
Notice that the southern portion of Hawaii’s Big Island appears at the top of the image. This is a result of the Sentinel-1 satellite’s path as it makes its fly-over. This scene was detected in the ascending order and the images always display the first sensed portion on the top. Terrain correction and geocoding can rectify this. For information on Radiometrically Terrain Correcting a scene, see the ASF’s corresponding recipes.


