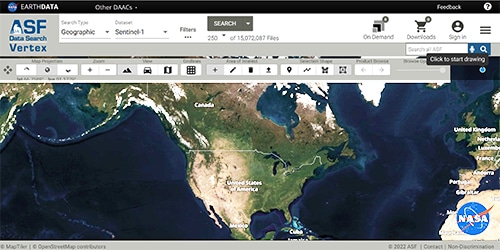
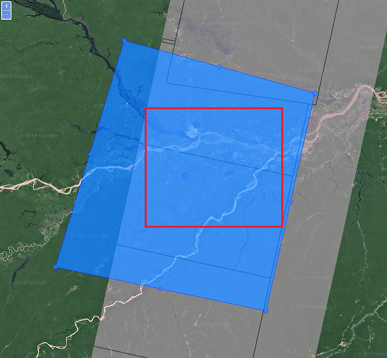
Product outlines in gray shown on ASF’s Vertex data portal.
Source: ASF Staff
● Easier
Background
In order to facilitate the use of Sentinel-1 products and avoid unruly image sizes, the swaths of data collected by the satellite are divided into more manageable slices of smaller areas. In some instances, the edge of these slices fall on top of our desired region of study making it more challenging to analyze. Luckily, they can be seamlessly combined using the toolbox’s Slice Assembly tool. This tutorial will go over the preprocessing steps to accomplish this slice assembly and the subsequent subsetting of the border zone.
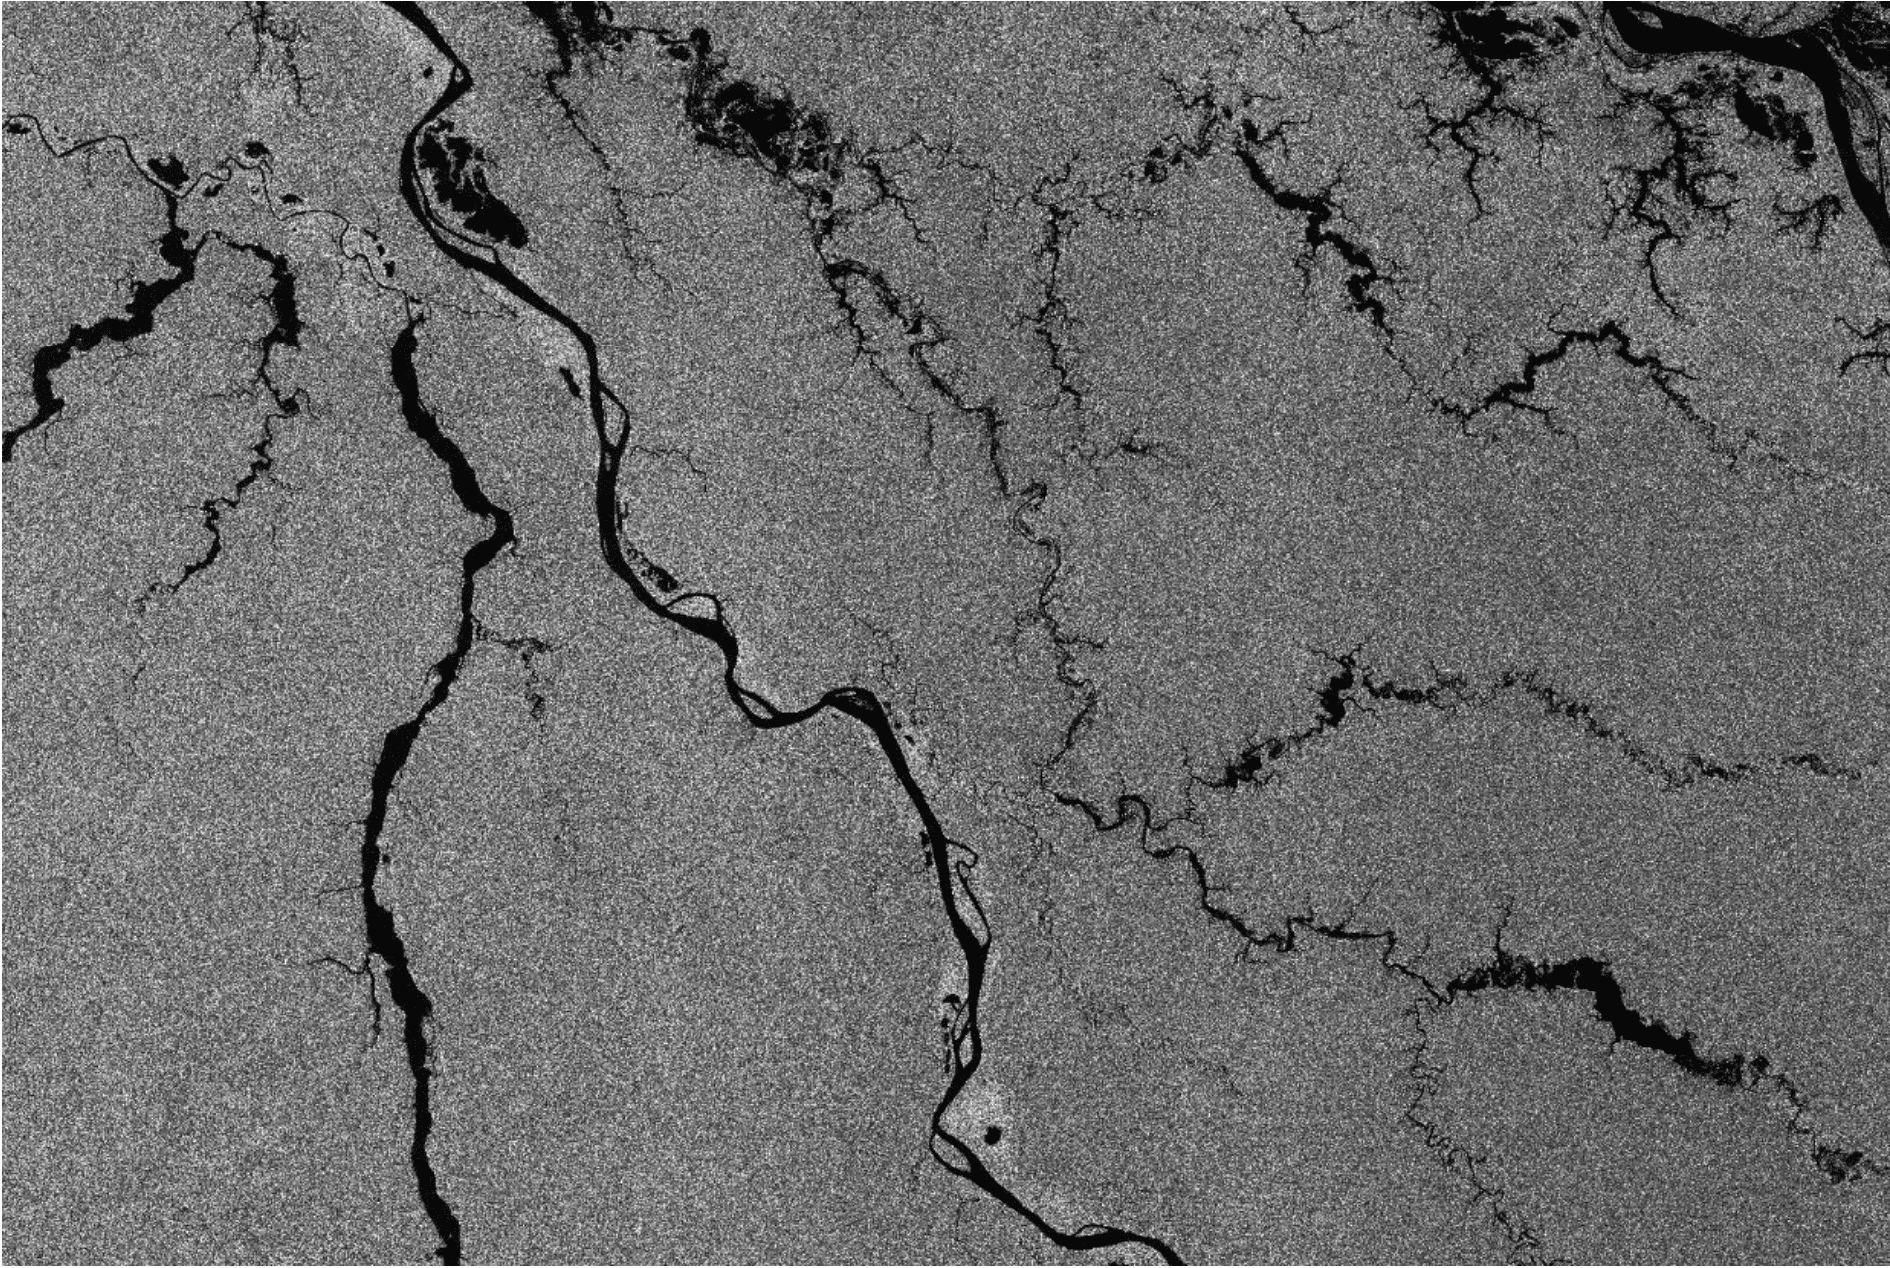
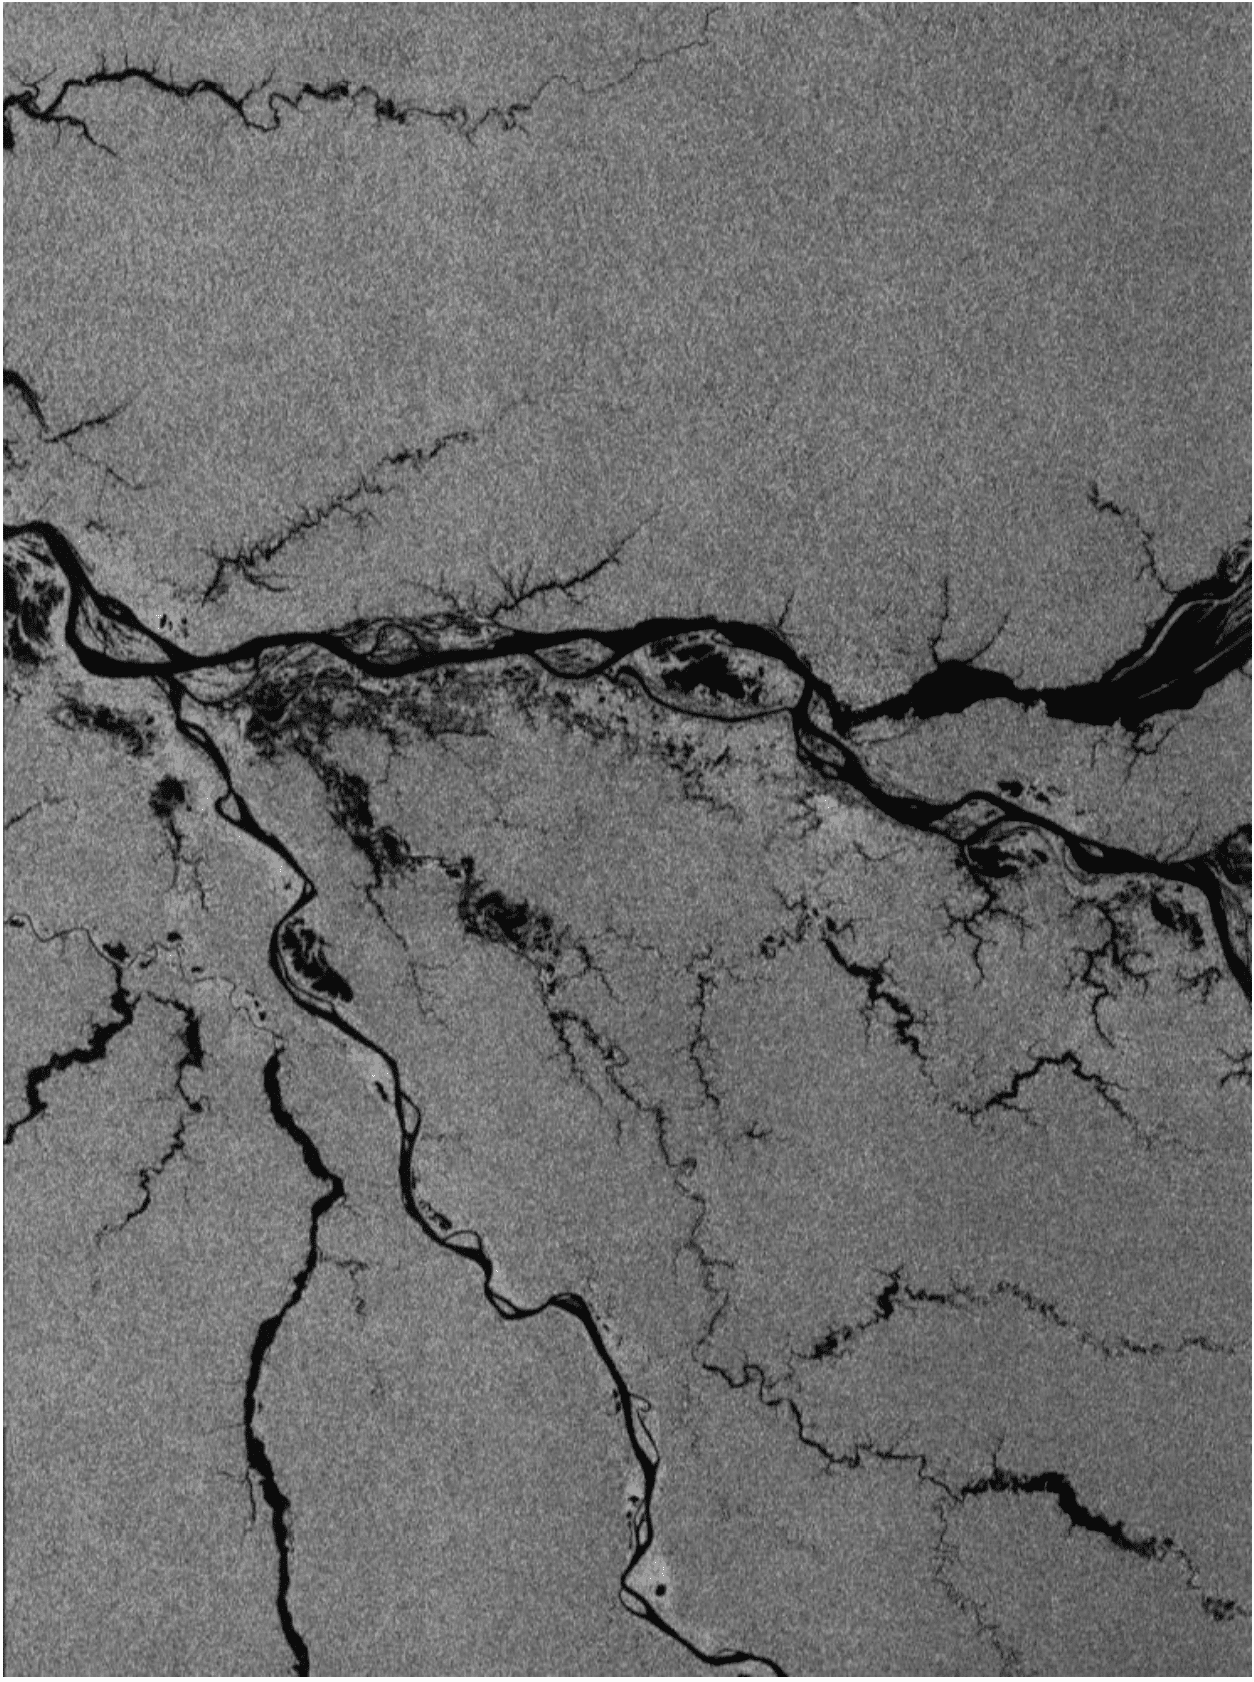
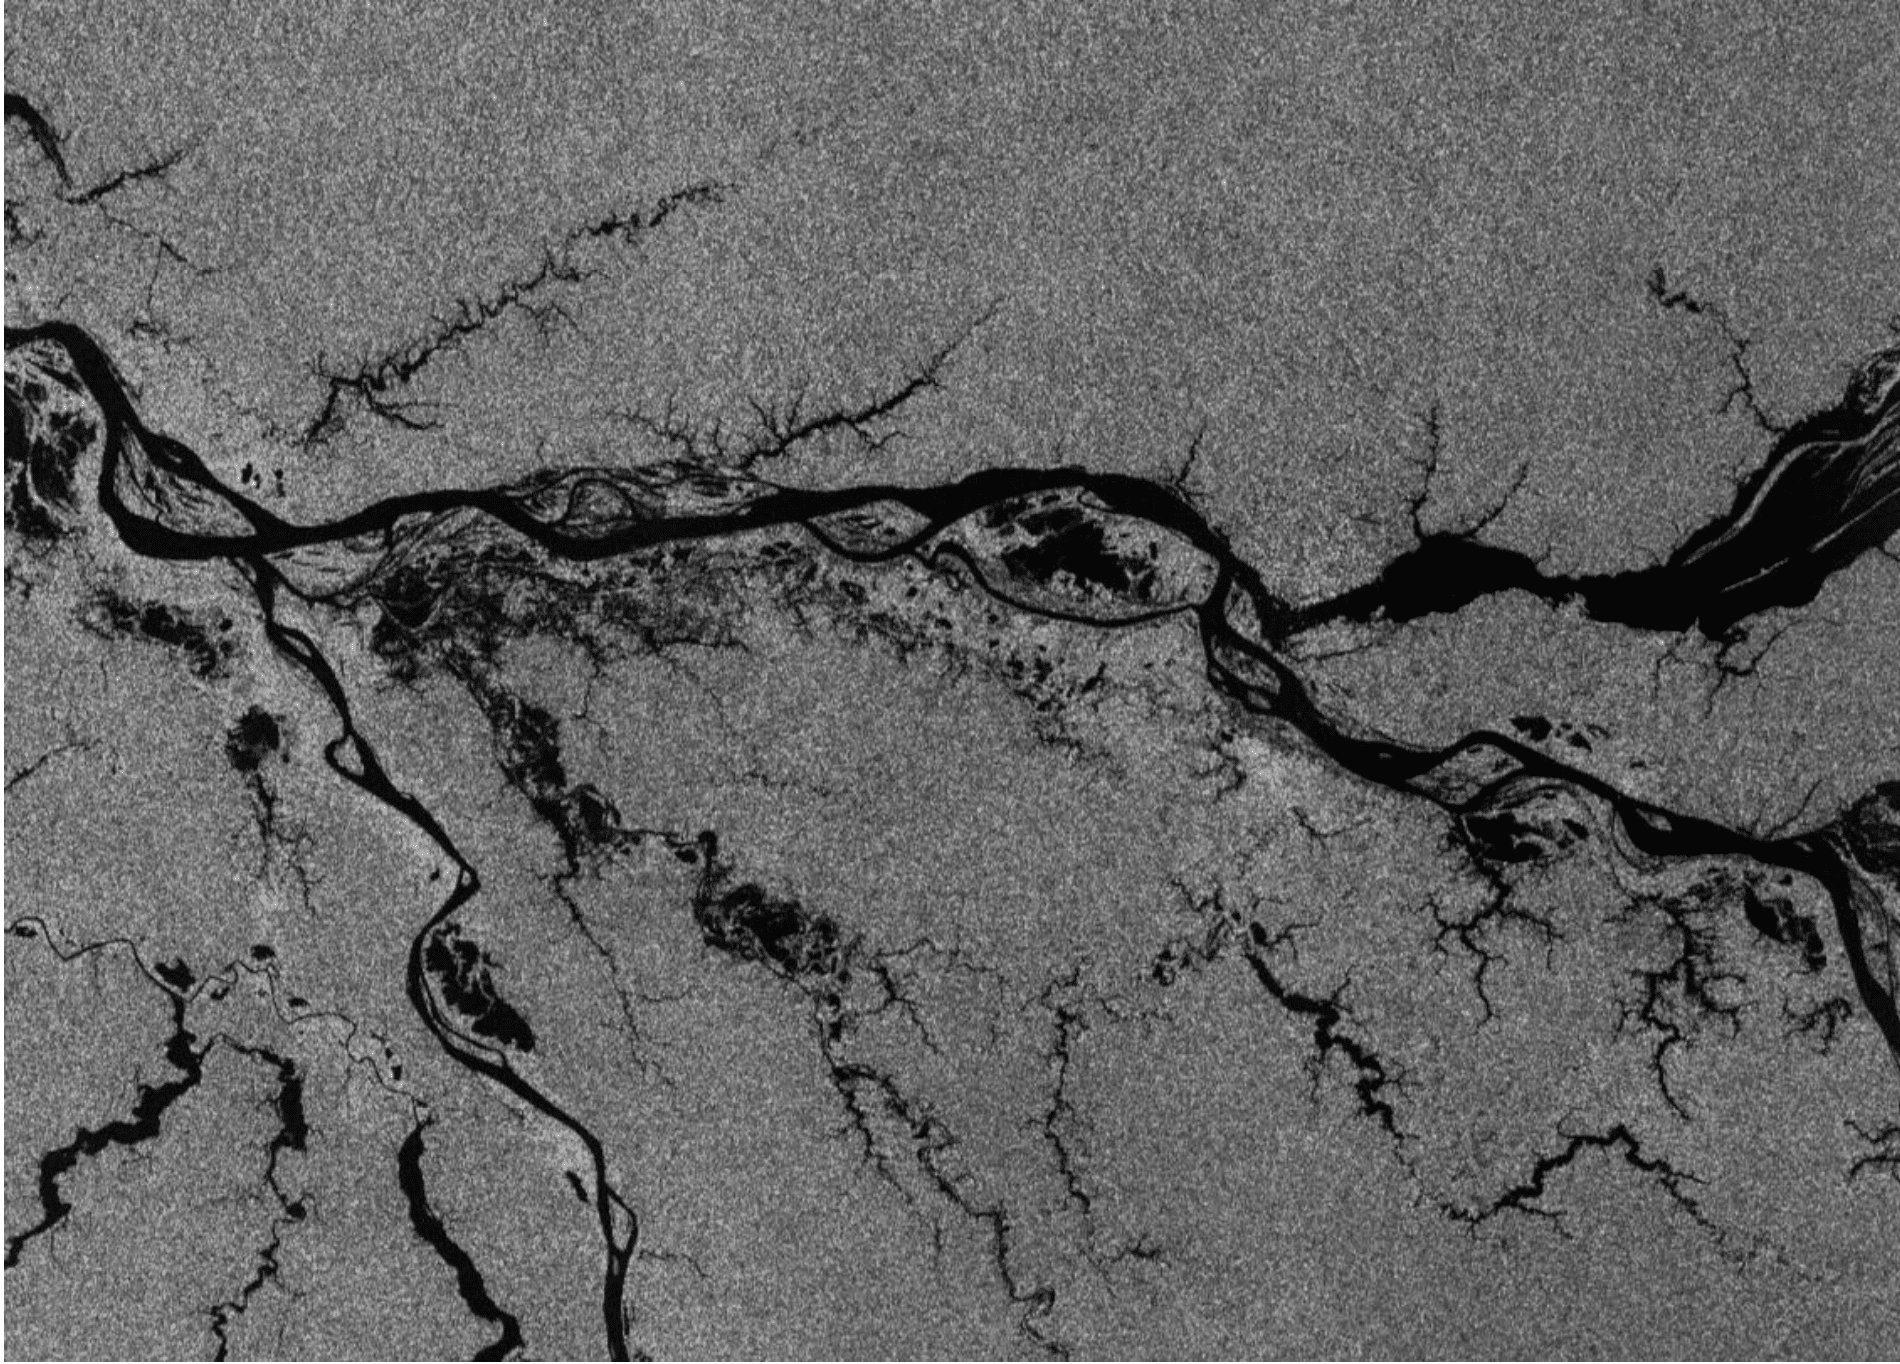
In this recipe, users look at the region of the Amazon bounded in red. However, when no single product covers the area of interest, users can assemble two vertical adjacent products and then create a subset of the desired area.
Prerequisites
Materials List
- Latest version of Sentinel-1 Toolbox
- Pair of Sentinel-1 IW Ground Range Detected (GRD) products. Download the sample granules below or use the Vertex data portal to download your own GRD products.
System Requirements
- Windows, Mac OS X, Unix
- 16 GB RAM
- Enough hard disk space to store processed data (approximately 25 GB)
Note: A Solid State Drive will perform significantly faster than a Hard Disk Drive and when processing large files, this will be very advantageous.
Steps to Generate a Mosaic and Subset
Open the Products in Sentinel-1 Toolbox
- Open the Sentinel-1 Toolbox.
- Use the Open Product button in the top toolbar and browse to the location of the two GRD products.
- Press and hold the Ctrl button to select both zip files and press Open.
Note: if you unzipped the files, select the manifest.safe file from each Sentinel-1 product folder instead.
View the Products
- In the Product Explorer, you will see the opened products
- Double-click on the product to expand.
- Expand the Bands folder and you will find two bands; an amplitude band, which is actually the product, and a virtual intensity band, which is there to assist you in working with the GRD data.
- To view the data, double-click on the Amplitude_VH band.
- Zoom in using the mouse wheel and pan by clicking and dragging the left mouse button.
Apply Orbit File
- Select the first GRD product in the Product Explorer.
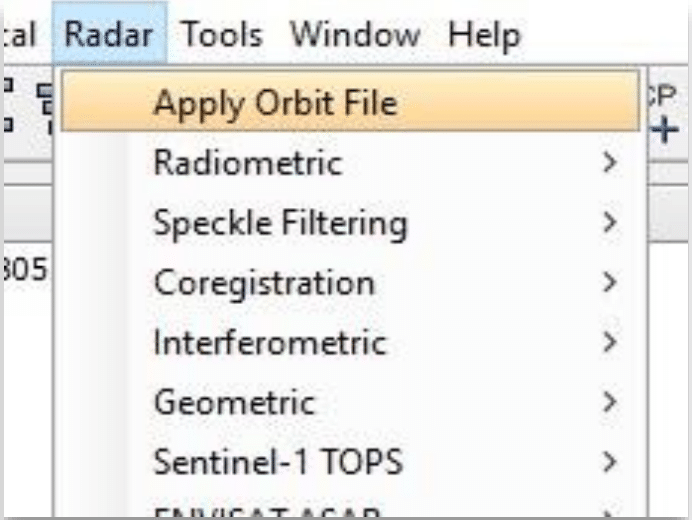
- From the top menu, navigate to Radar > Apply Orbit File.
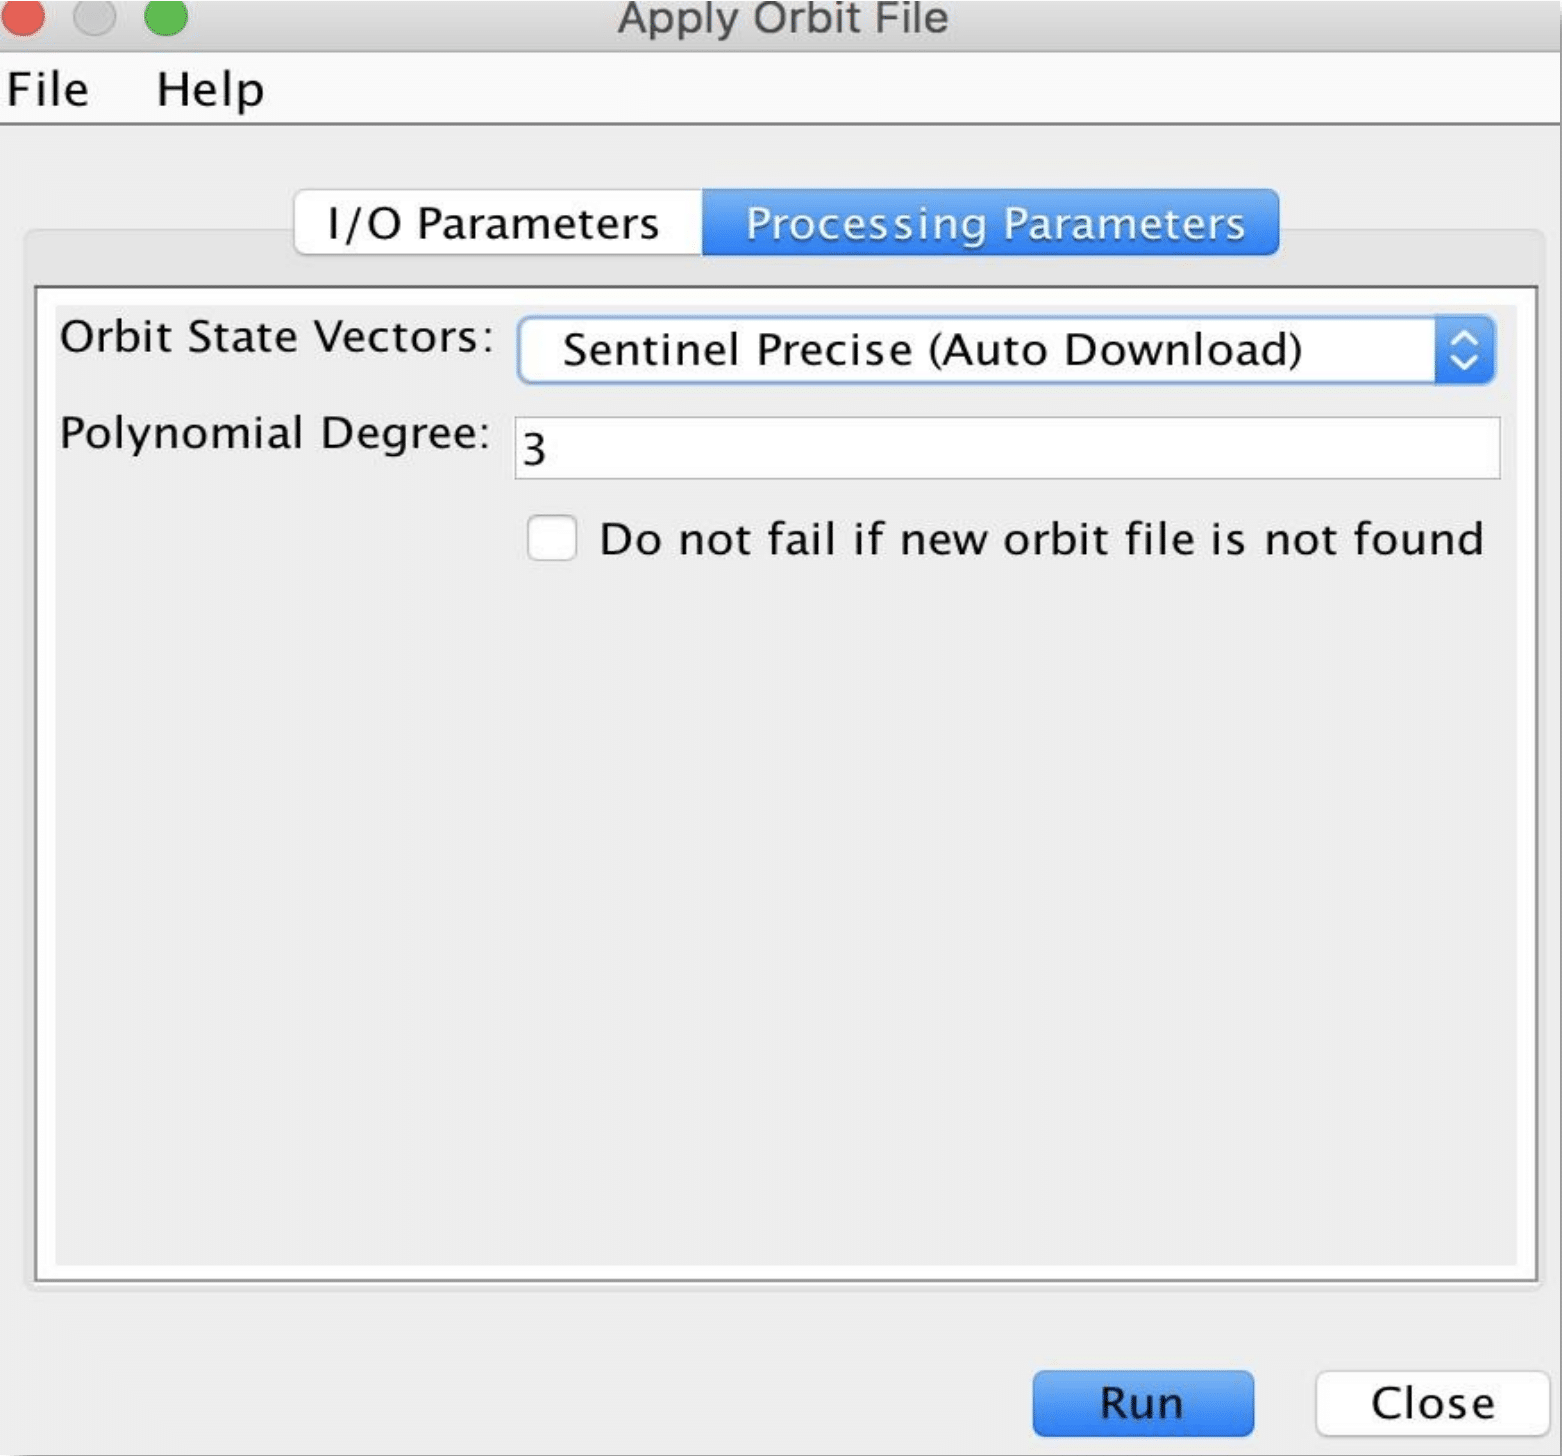
- In the Apply-Orbit-File window, specify the output folder and the target product name. The products will automatically be appended with the suffix _Orb if you choose the default name.
- Click the Processing Parameters tab. If your product is less than 20 days old, a precise orbit file may not be available yet. You can either select Sentinel Restituted in the Orbit State Vectors dropdown, or if you are unsure whether the file has been updated yet, you can check the Do not fail box. Otherwise, if your products are more than 20 days old, leave this tab as is.
- Click Run and allow the product to process.
- Repeat steps 1-5 for the second GRD product.
- When finished, close the Apply Orbit File window.
Calibrate
- Select the first _Orb product (created in the Apply Orbit File step) in the Product Explorer
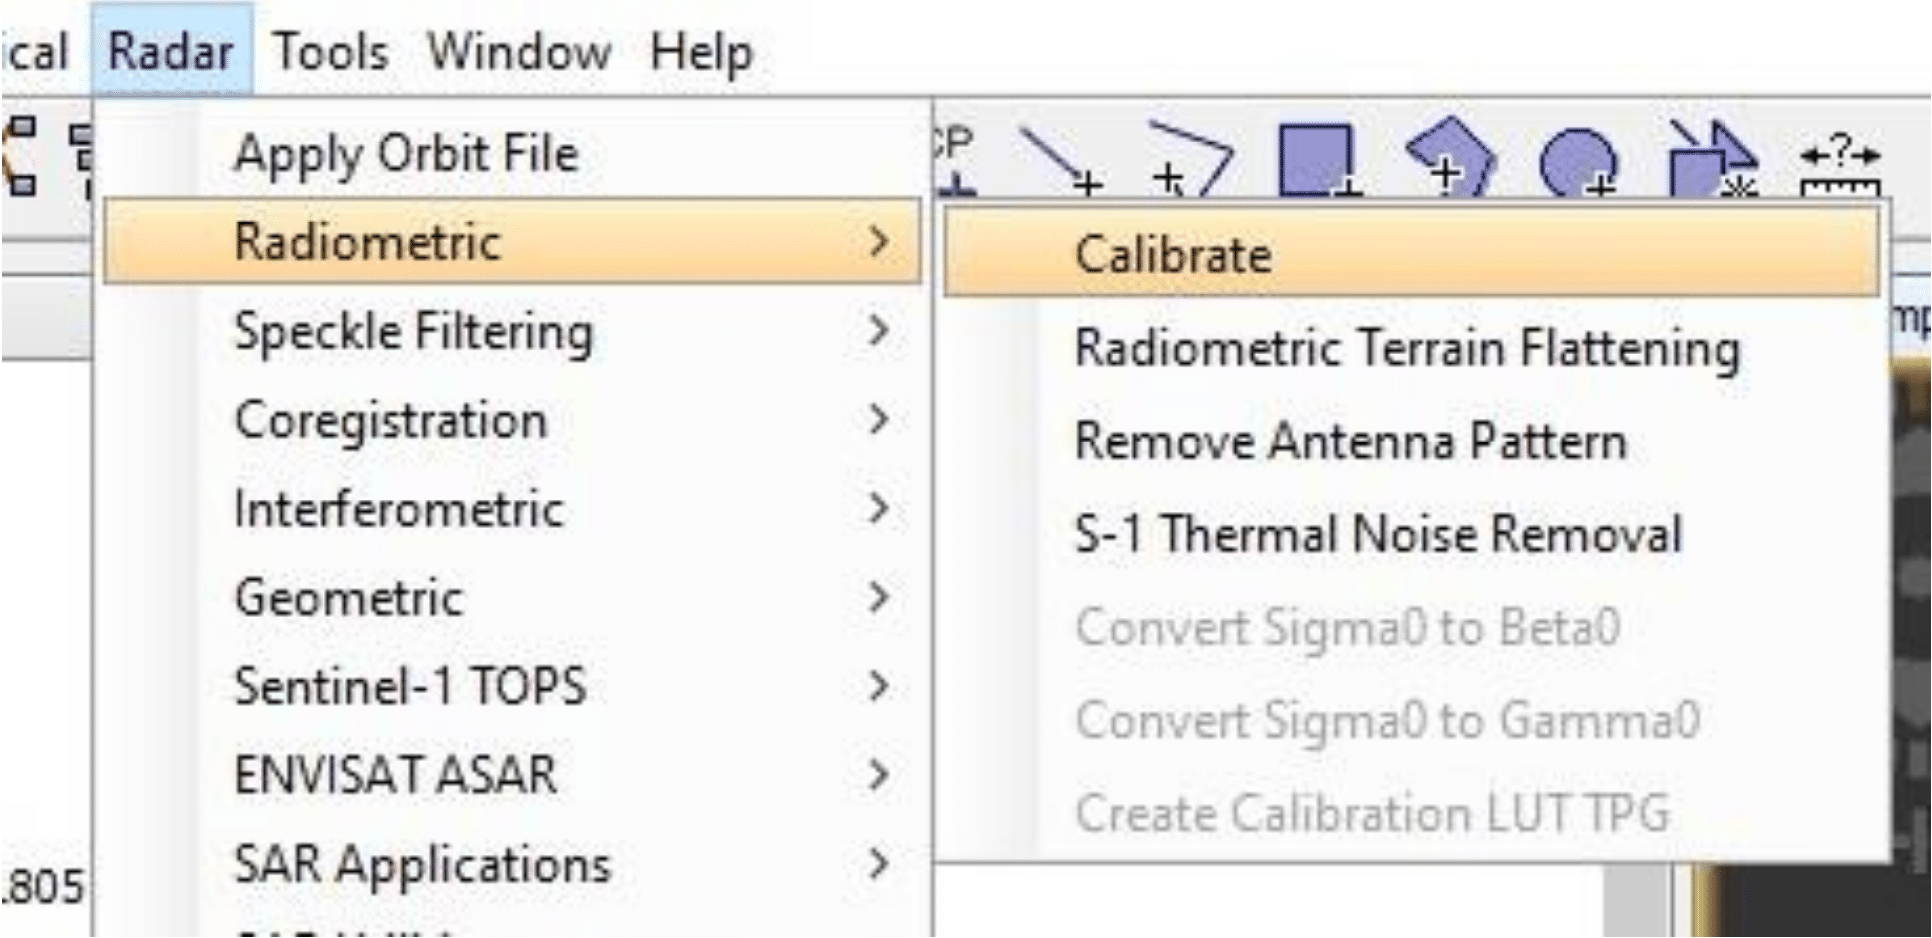
- From the top menu, navigate to Radar > Radiometric > Calibrate
- In the Calibration window, specify the output folder and the target product name. The products will automatically be appended with the suffix _Cal if you choose the default name.
- Leave all parameters as default and click Run.
- Repeat steps 1-4 for the second _Orb product.
- When finished, close the Calibration window.
Assemble Slices
- In the view window, close any old tabs opened before the Calibrate step. This will help free up RAM and increase performance.
- In the Product Explorer, Ctrl-click every product except for the calibrated products you just made in the Calibrate step.
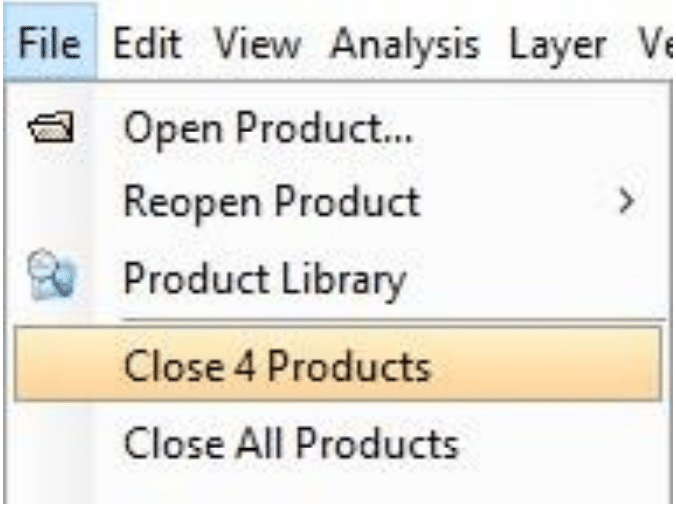
- Click File > Close # Products.
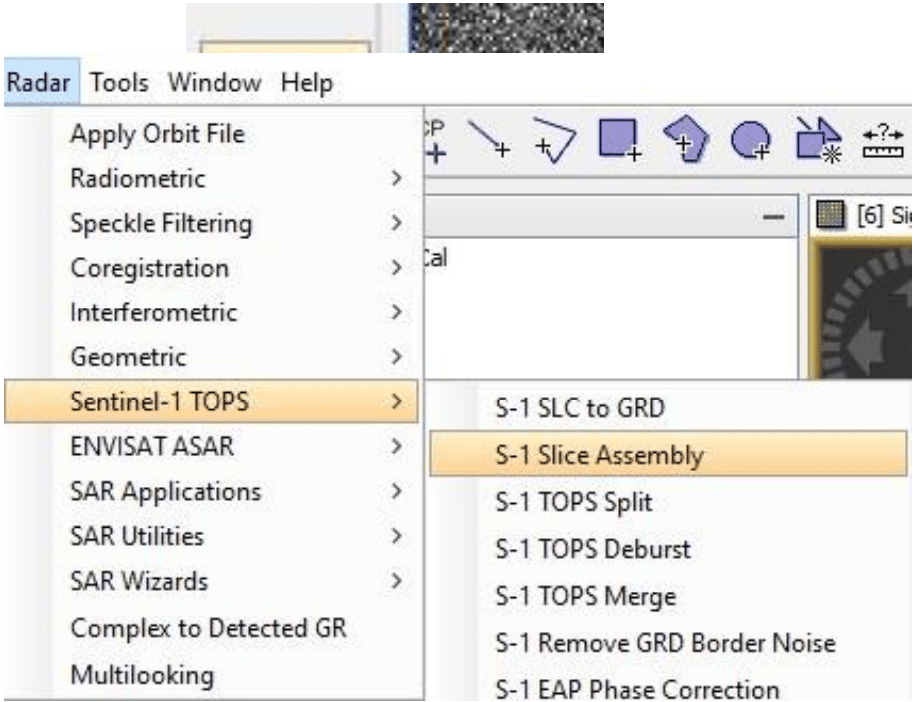
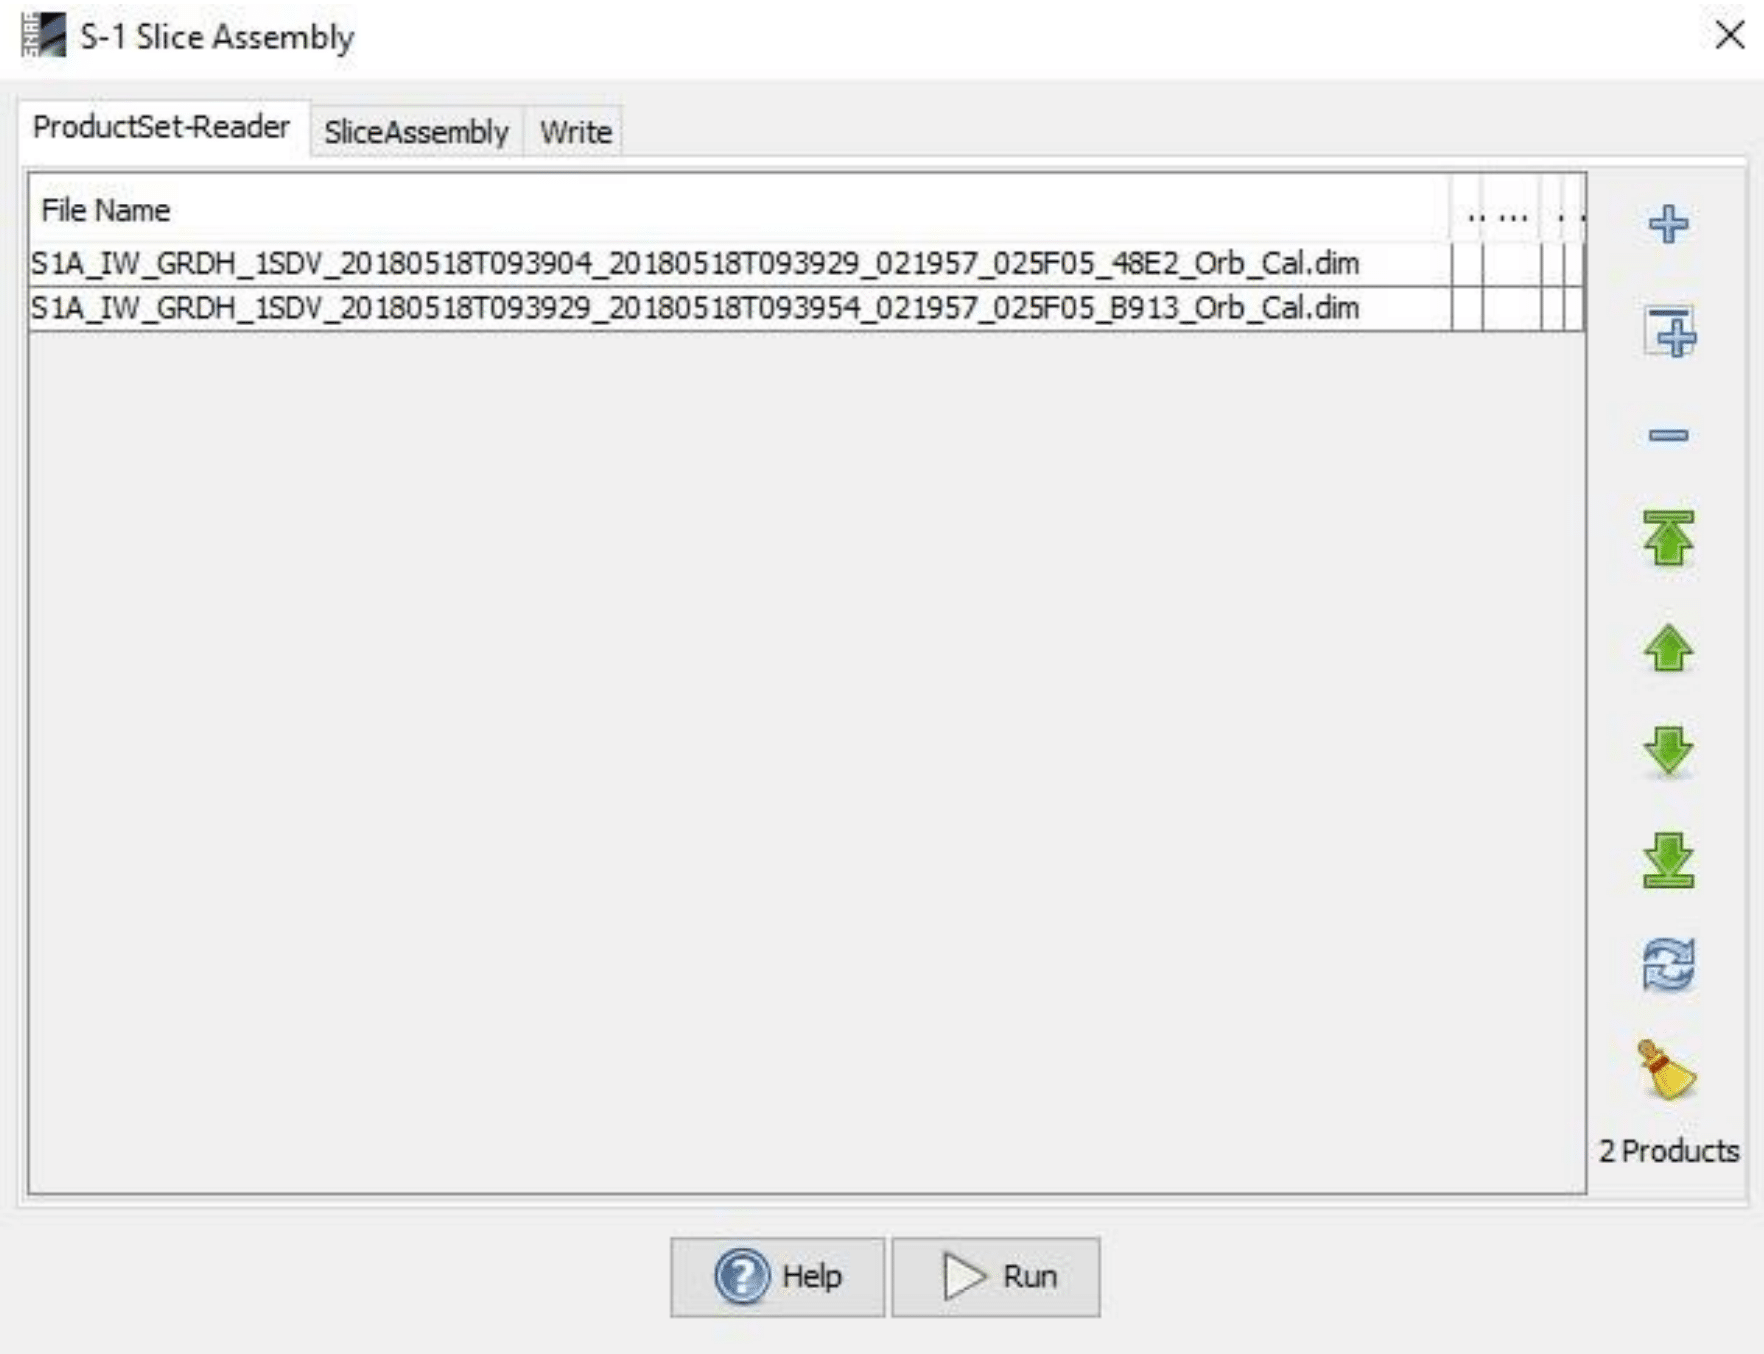
- From the top menu, navigate to Radar > Sentinel-1 TOPS > S-1 Slice Assembly
- On the right side of the Slice Assembly window, click the Add Opened icon to select all of your open calibrated products.
- If the bottom of the window is displaying an error, you will need to update your toolbox. If the problem persists, it may help to restart your computer.
- Navigate to Help > Check for Updates and follow the instructions.
- Once the updates have been downloaded, restart your Sentinel-1 Toolbox.
- In the Slice Assembly window, verify that the products are in the order that they should be in the mosaic. Use the four-character Product Unique Identifier and the product numbers shown in the View Window tabs and Product Explorer to reference the images. Use the green arrows to rearrange the products.
- In the Slice Assembly tab, select the polarizations bands you wish to assemble. Unless you want to only specify a certain band, leave this tab as is.
- In the Write tab, specify the output folder and the target product name. The products will automatically be appended with the suffix _As if you choose the default name.
- Click Run and allow the images to be processed.
- Close the S-1 Assembly window.
- The new product should appear in the Product Explorer and can be viewed.
Create Subset
- Open the new assembled product created in the Assemble Slices step, and close the products created in the Calibrate step.
- Using your mouse-wheel to zoom and left-click to drag (to do this, you must select the panning tool shown as a hand icon), center your view on the area you wish to study.
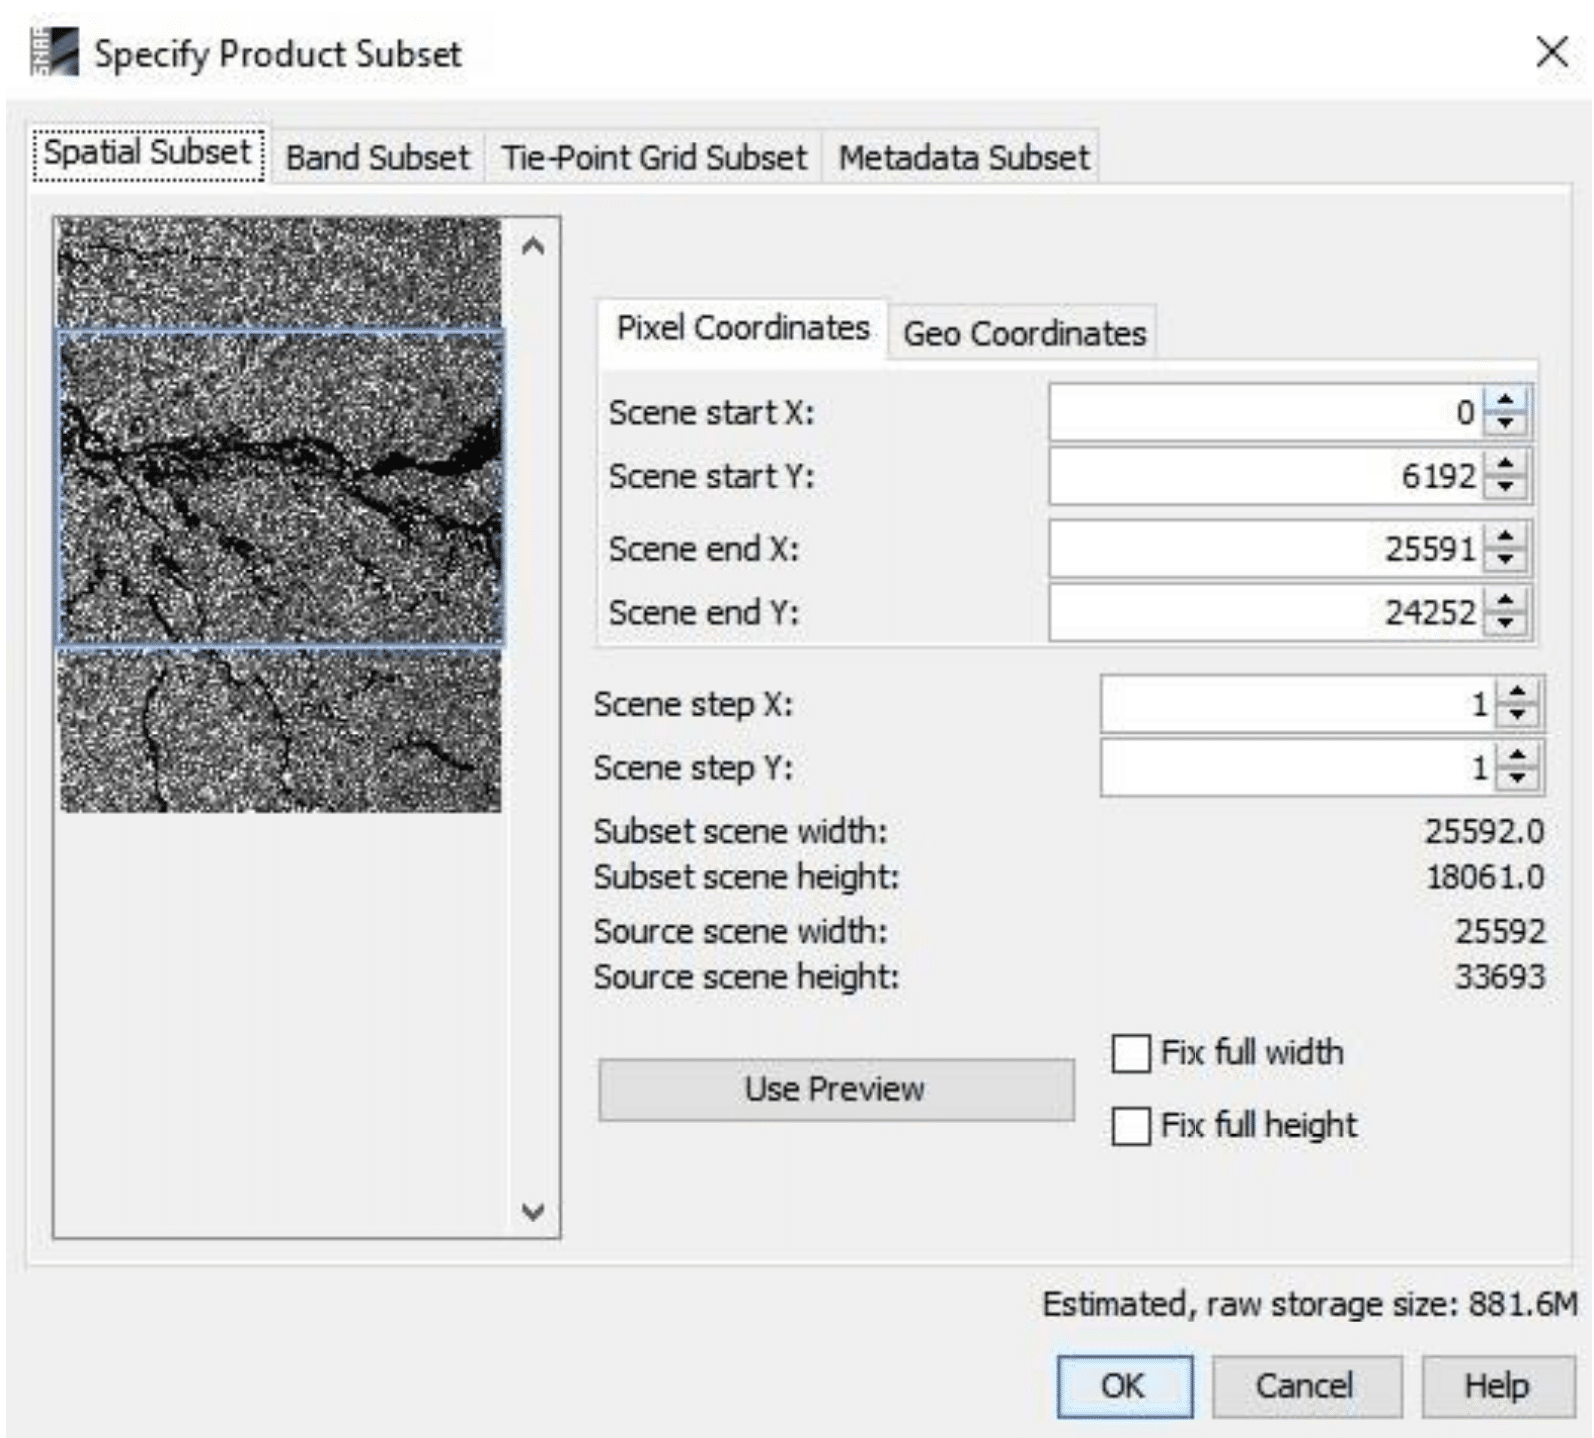
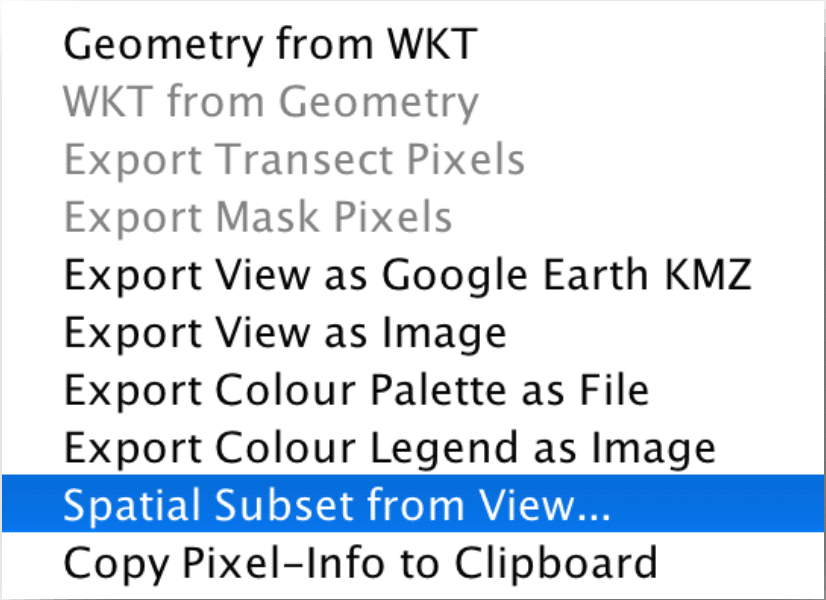
- Right-click in the view and select Spatial Subset from View.
- In the Product Subset window view, further adjust your subset by moving the sides on the blue rectangle outline with your mouse.
- Click OK
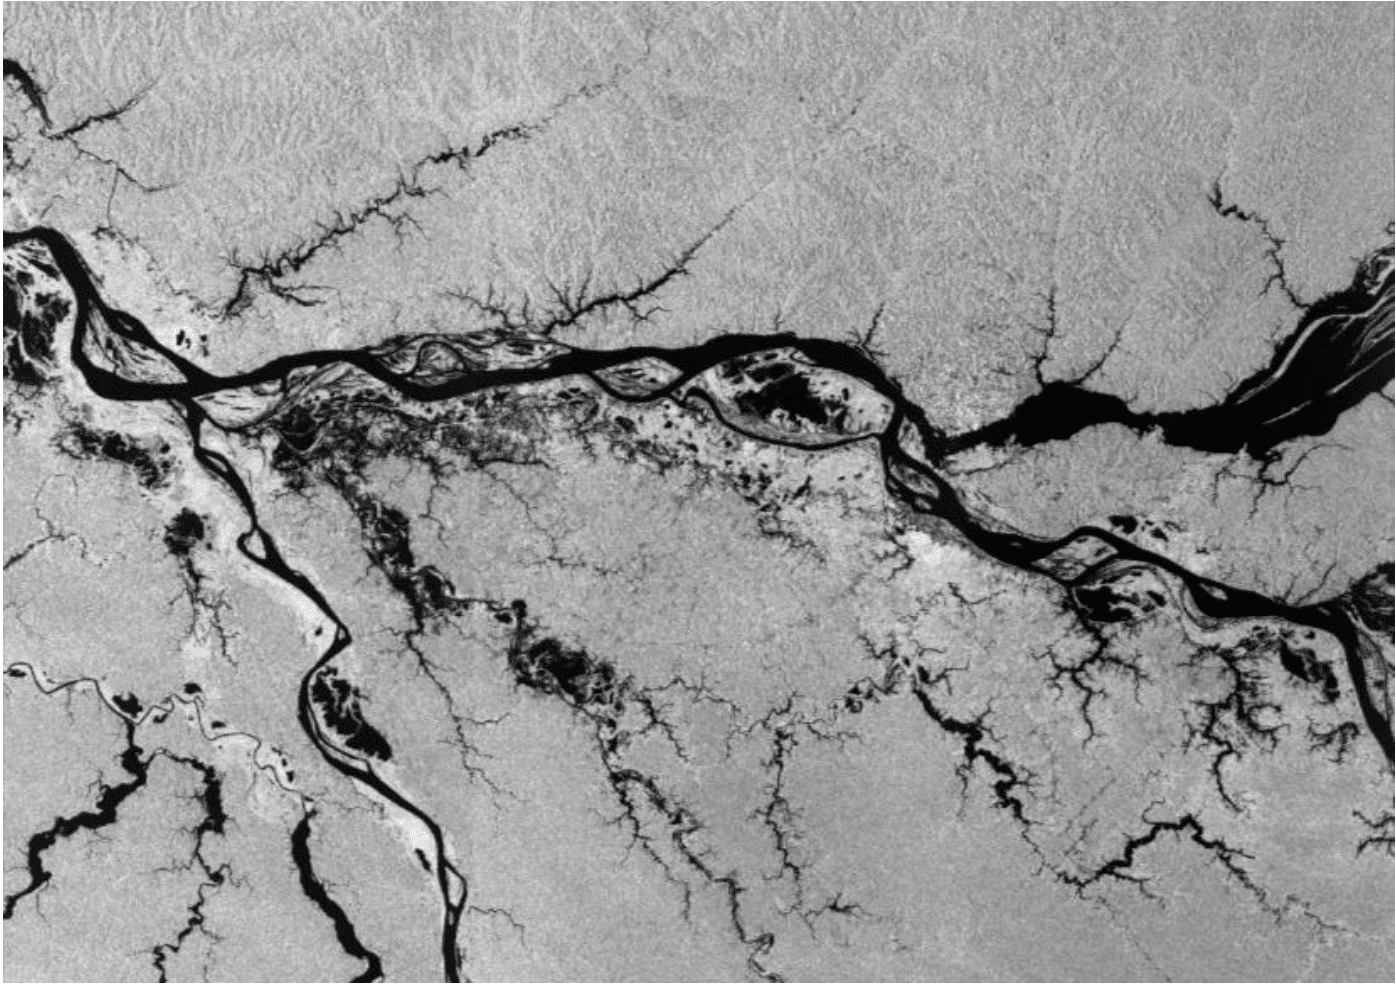
- Using the Product Explorer, view your new product.
Optional — Speckle Filter
- Select your assembled subset GRD product in the Product Explorer.
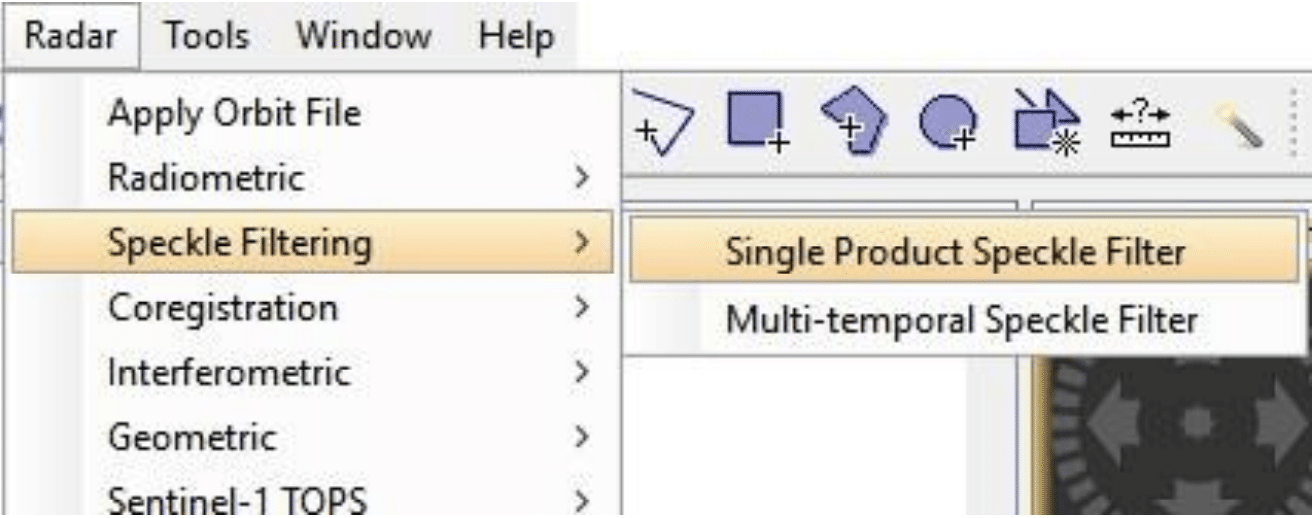
- From the top menu, navigate to Radar > Speckle Filtering > Single product Speckle Filter.
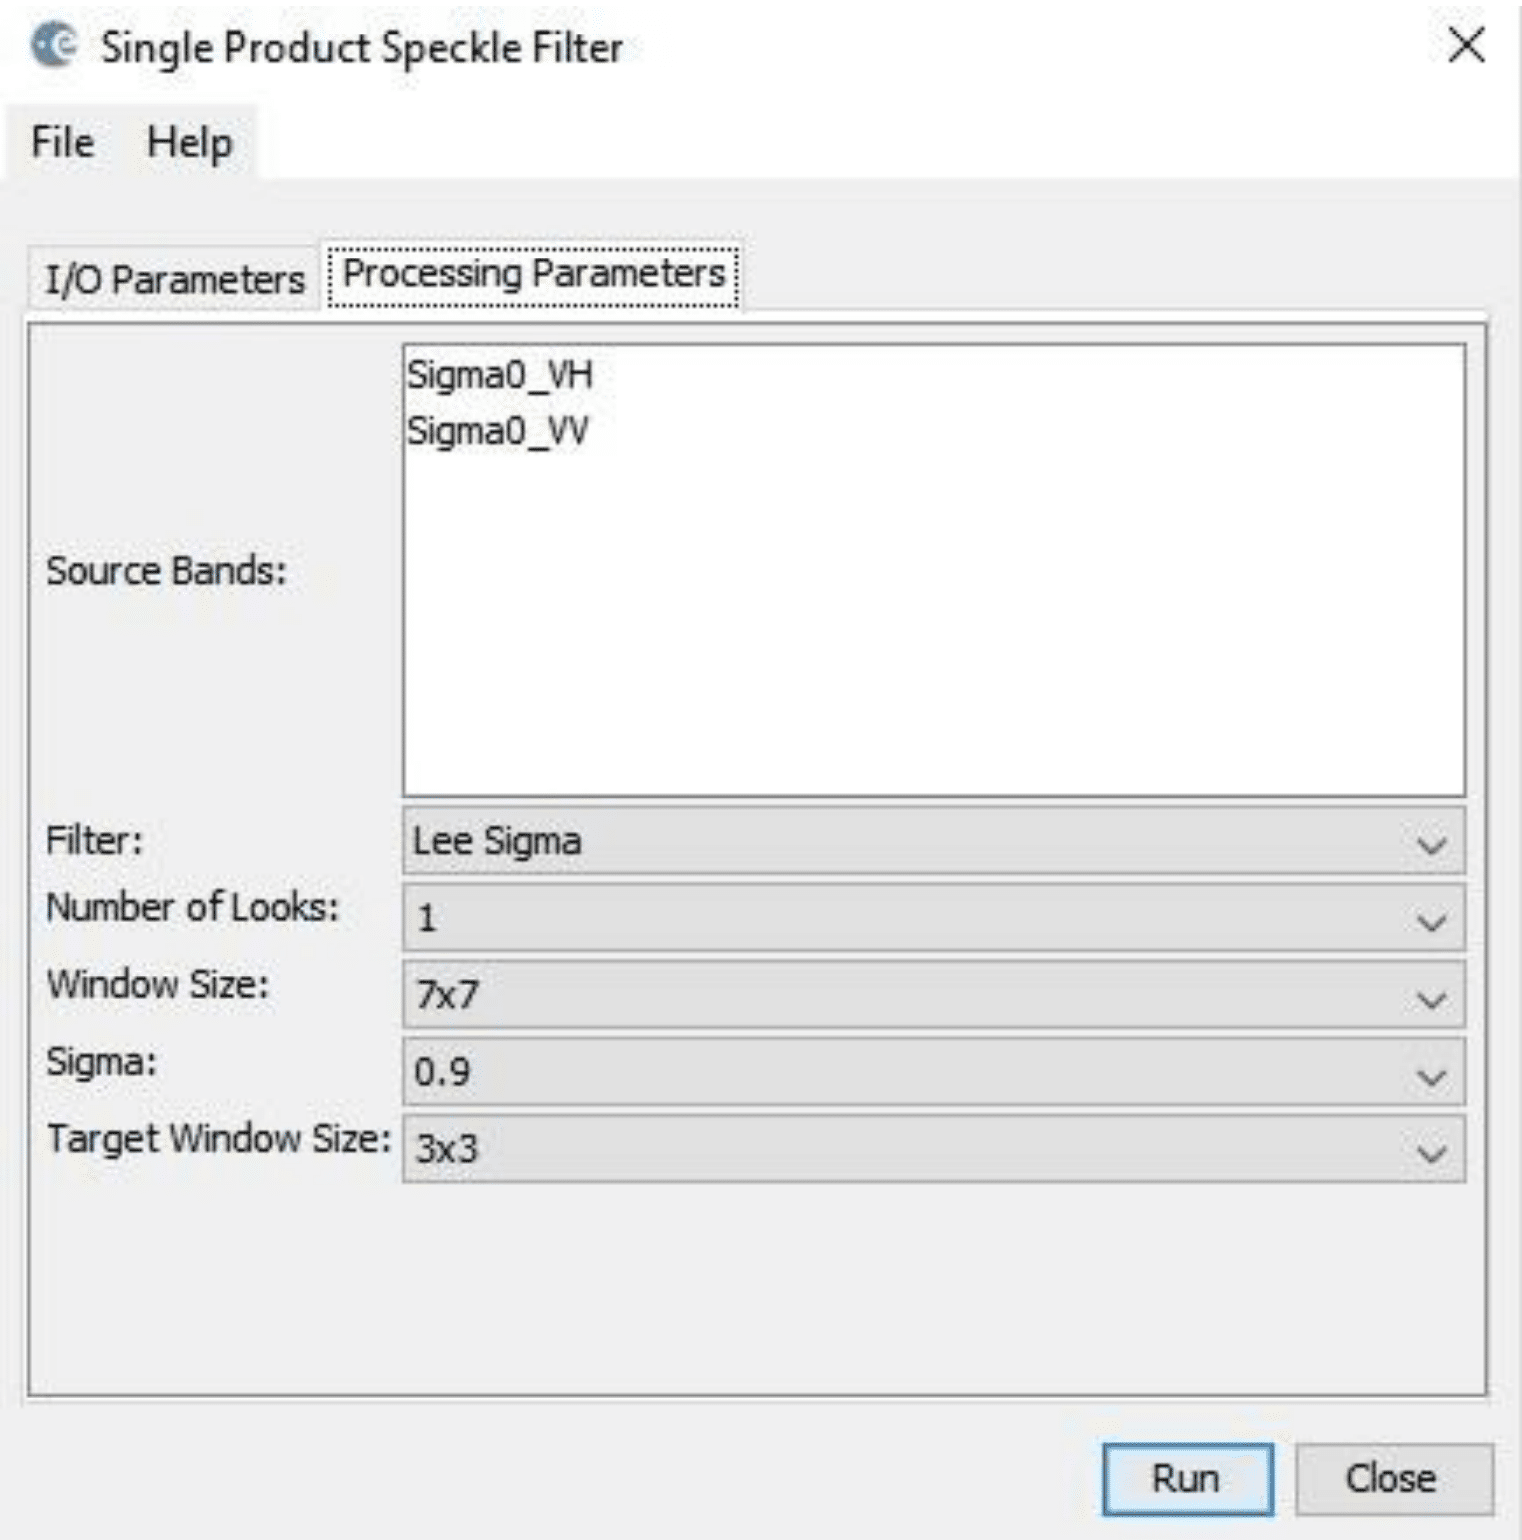
- In the Speckle Filter window I/O Parameters tab, specify the output folder and the target product name. The products will automatically be appended with the suffix _Spk if you choose the default name.
- In the Processing Parameters tab, leave all parameters as default and click Run.
- When finished, close the Calibration window.
Optional — Geocode
- Select your assembled subset GRD product in the Product Explorer.
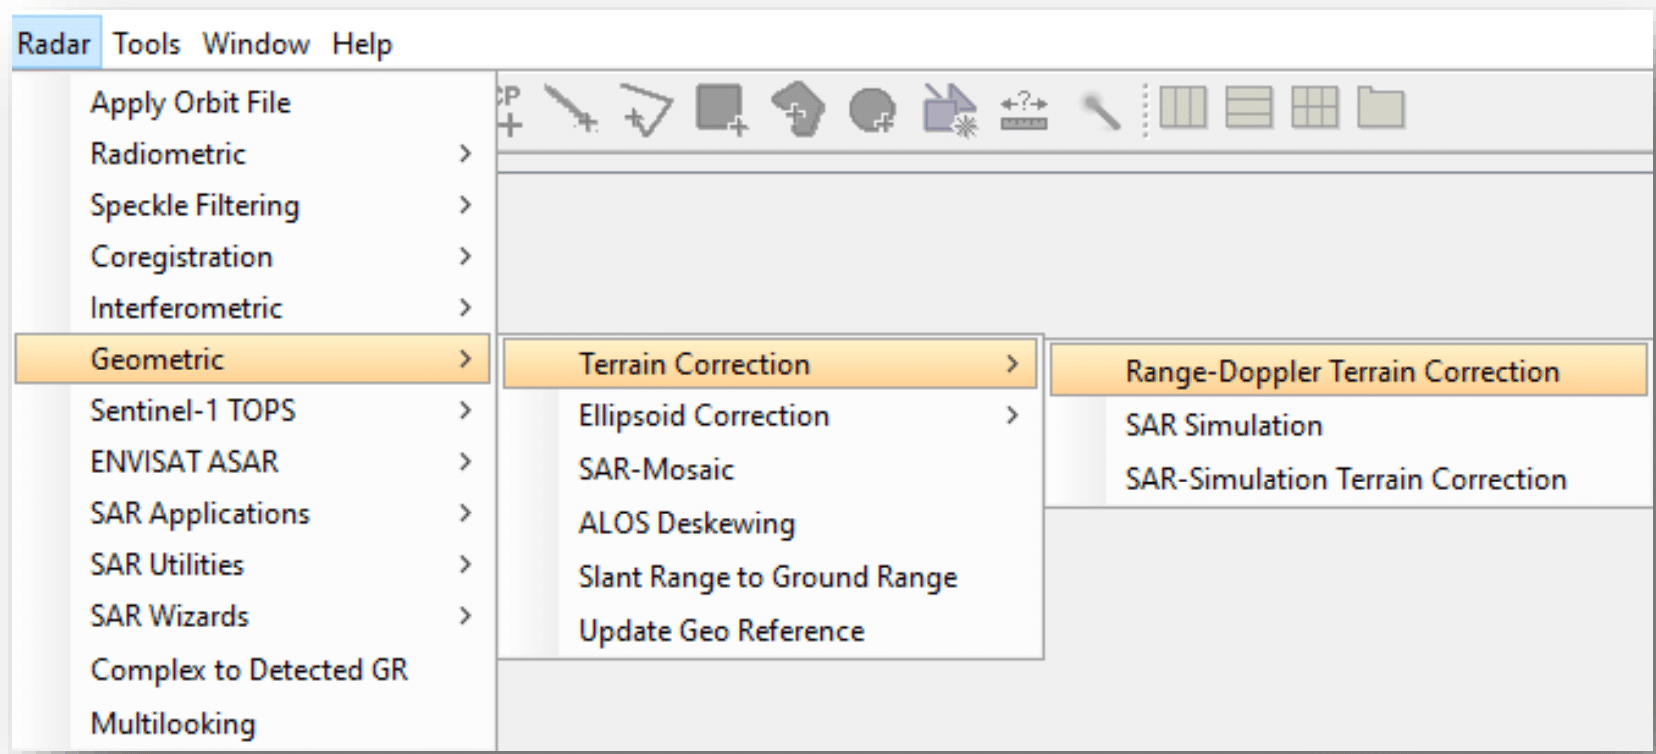
- From the top menu, navigate to Radar > Geometric > Terrain Correction > Range-Doppler Terrain Correction
- In the Range Doppler Terrain Correction window I/O Parameters tab, specify the output folder and the target product name. The products will automatically be appended with the suffix _TC if you choose the default name.
- In the Processing Parameters tab, leave all parameters as default and click Run.
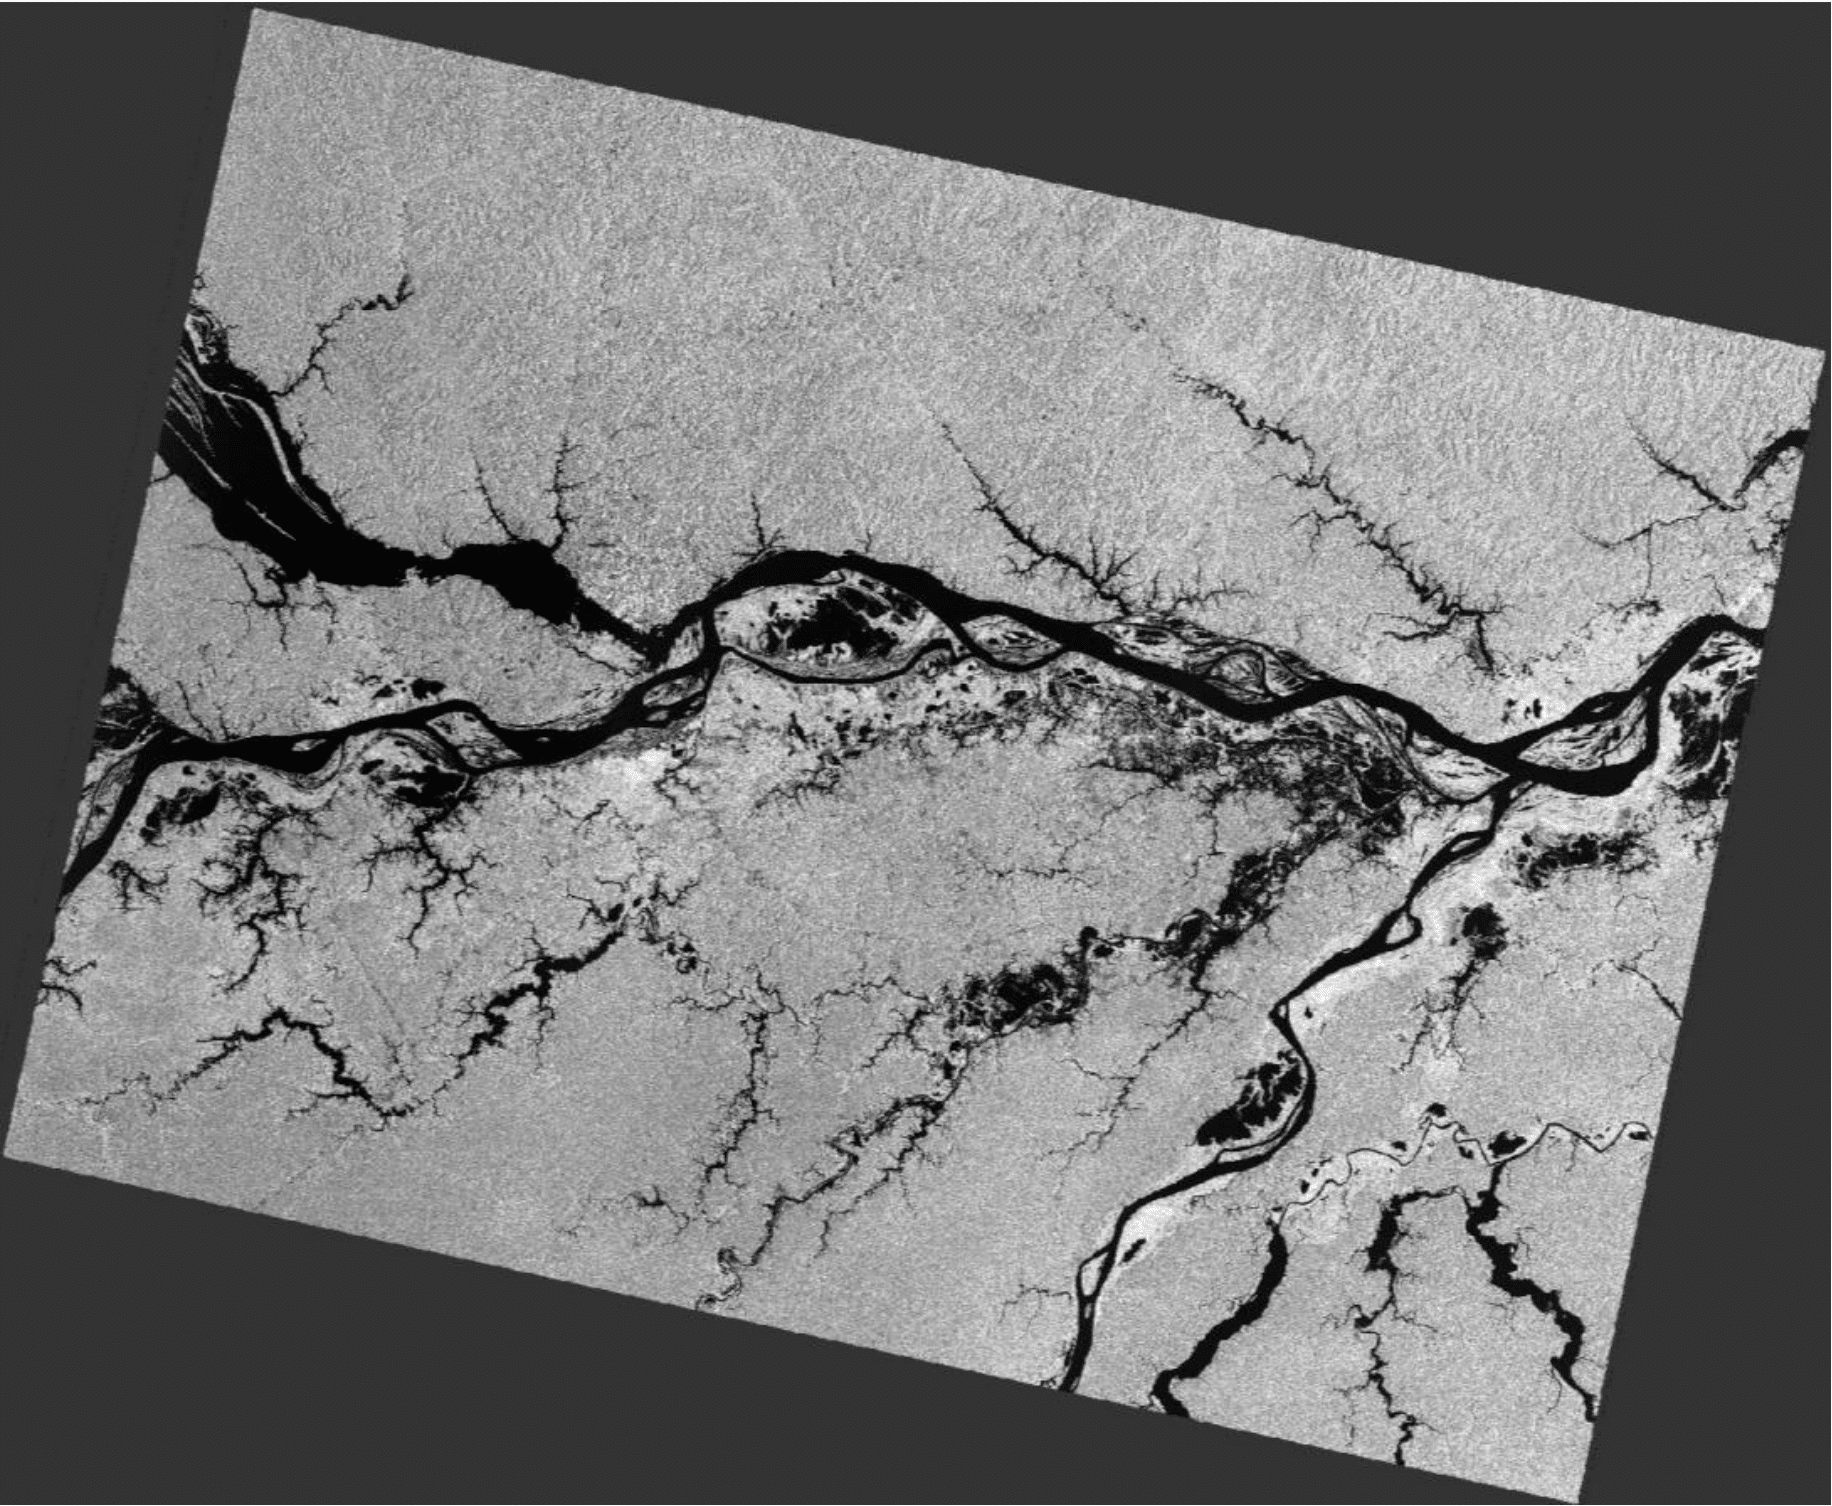
- When finished, close the Calibration window and view the product.


