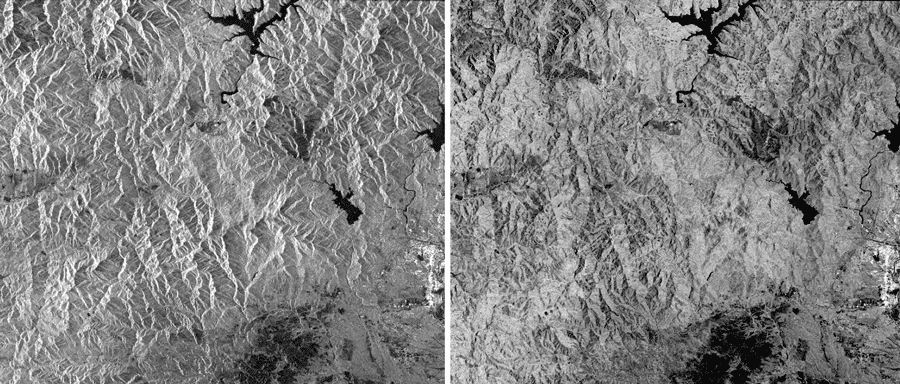
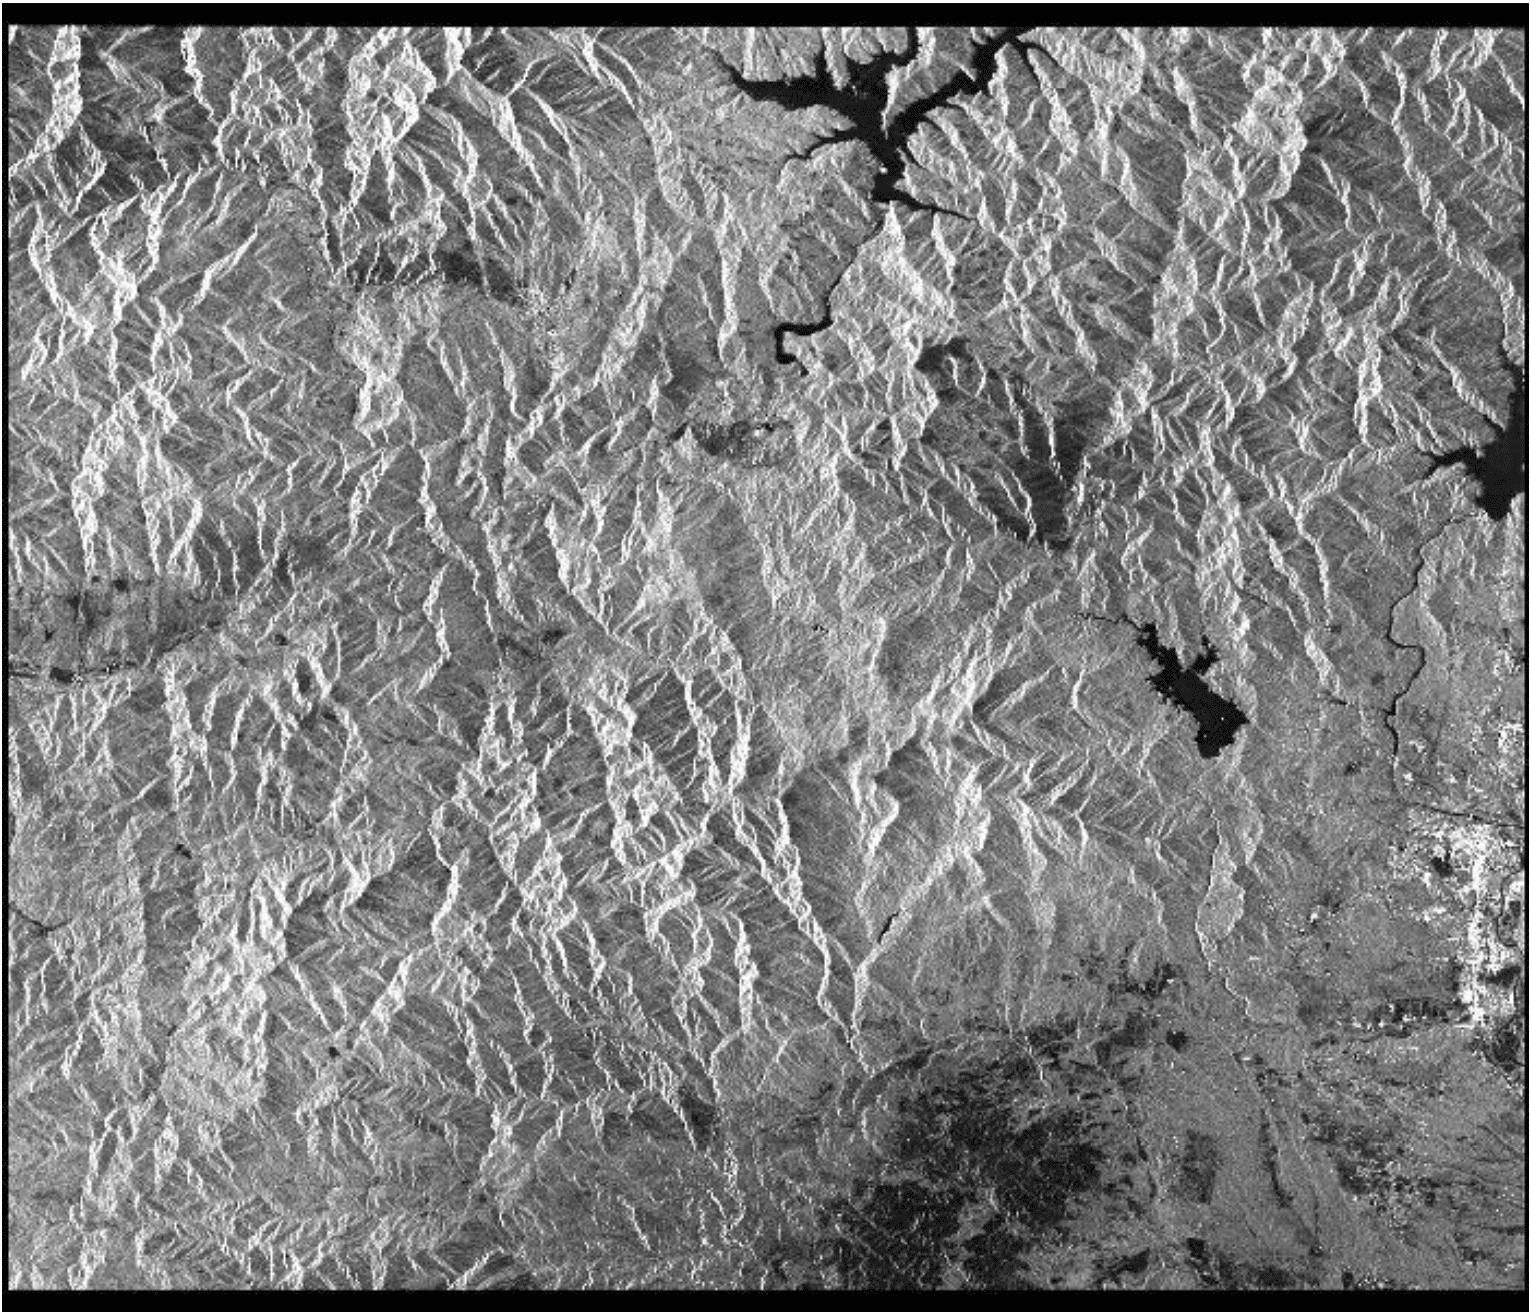
Before and after: Before radiometric terrain correction (RTC), Klamath Mountains in northern California appear stretched on one side and compressed on the other (left). RTC (right) moves pixels to unstretch the mountains and adjusts pixel values to subtract the effect of slopes on brightness. Left: © JAXA/METI 2008; right: ASF DAAC 2016; Includes Material © JAXA/METI 2008.
Adapted from the European Space Agency’s STEP Community Platform
■ Intermediate
Background
This data recipe is for users who wish to terrain correct CEOS-formatted data granules for legacy platforms including ERS-1, ERS-2, JERS-1, RADARSAT-1, or ALOS PALSAR. Radiometric correction steps using the Ulander algorithm are included. However, the correction is not as accurate as that found in commercial SAR processing products. Note: most ALOS PALSAR data in the ASF archive have been radiometrically terrain-corrected.
Radiometric correction involves removing the misleading influence of topography on backscatter values. Terrain correction is the process of correcting geometric distortions that lead to geolocation errors. The distortions are induced by side-looking (rather than straight-down looking or nadir) imaging, and are compounded by rugged terrain. Terrain correction moves image pixels into the proper spatial relationship with each other. Radiometric terrain correction combines both corrections to produce a more useful product for science applications.
Prerequisites
Materials List:
- Windows PC
- ASF MapReady
- Sample Granule (Level 1.5 ALOS PALSAR), or your own data
- Digital Elevation Model (DEM) that includes the area covered by the granule (available from many sources, including USGS Earth Explorer and OpenTopography).
Steps
Download Data
- Create a processing directory to house your data.
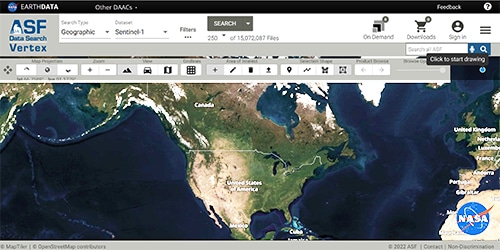
- Download a CEOS-formatted data granule (Level 1 ERS-1, ERS-2, JERS-1, and RADARSAT-1 — or Level 1.5 ALOS PALSAR) from ASF Vertex and move to your processing directory.
- Download a Digital Elevation Model (DEM) and move to your processing directory.
- Download and install ASF MapReady.
Terrain-Correct the Data
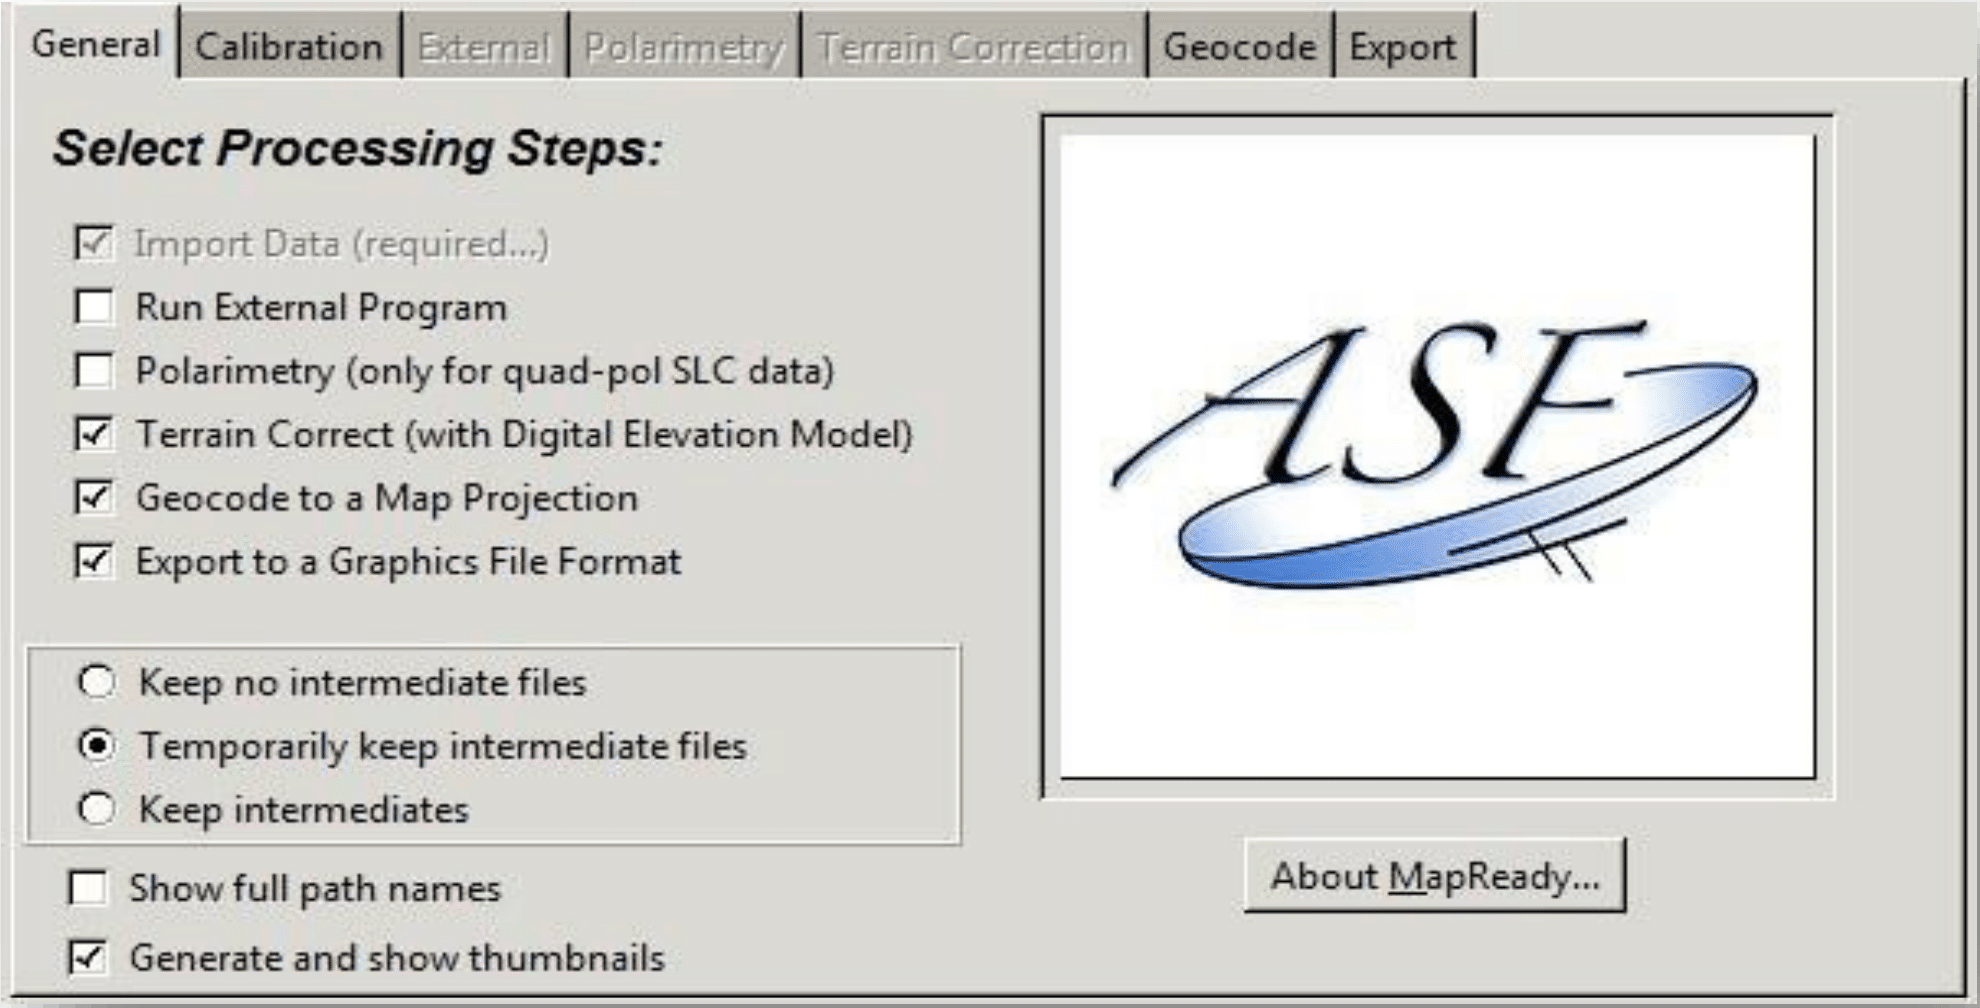
- At the top of the interface, select the General tab under Select Processing Steps, click Terrain Correct (with Digital Elevation Model), Geocode to a Map Projection, and Export to a Graphics File Format.
- Select the Terrain Correction tab, click on Browse next to the DEM File field, navigate to your working directory, and open your downloaded DEM file.
- In the same window, check the following boxes:
- Fill DEM holes with interpolated values
- Apply Geoid Correction
- Apply Terrain Correction
- Perform co-registration (FFT matching)
- Also apply Radiometric Terrain Correction
- Interpolate Layover/Shadow Regions.
- In the Geocode tab, set the Map Projection of your choice.
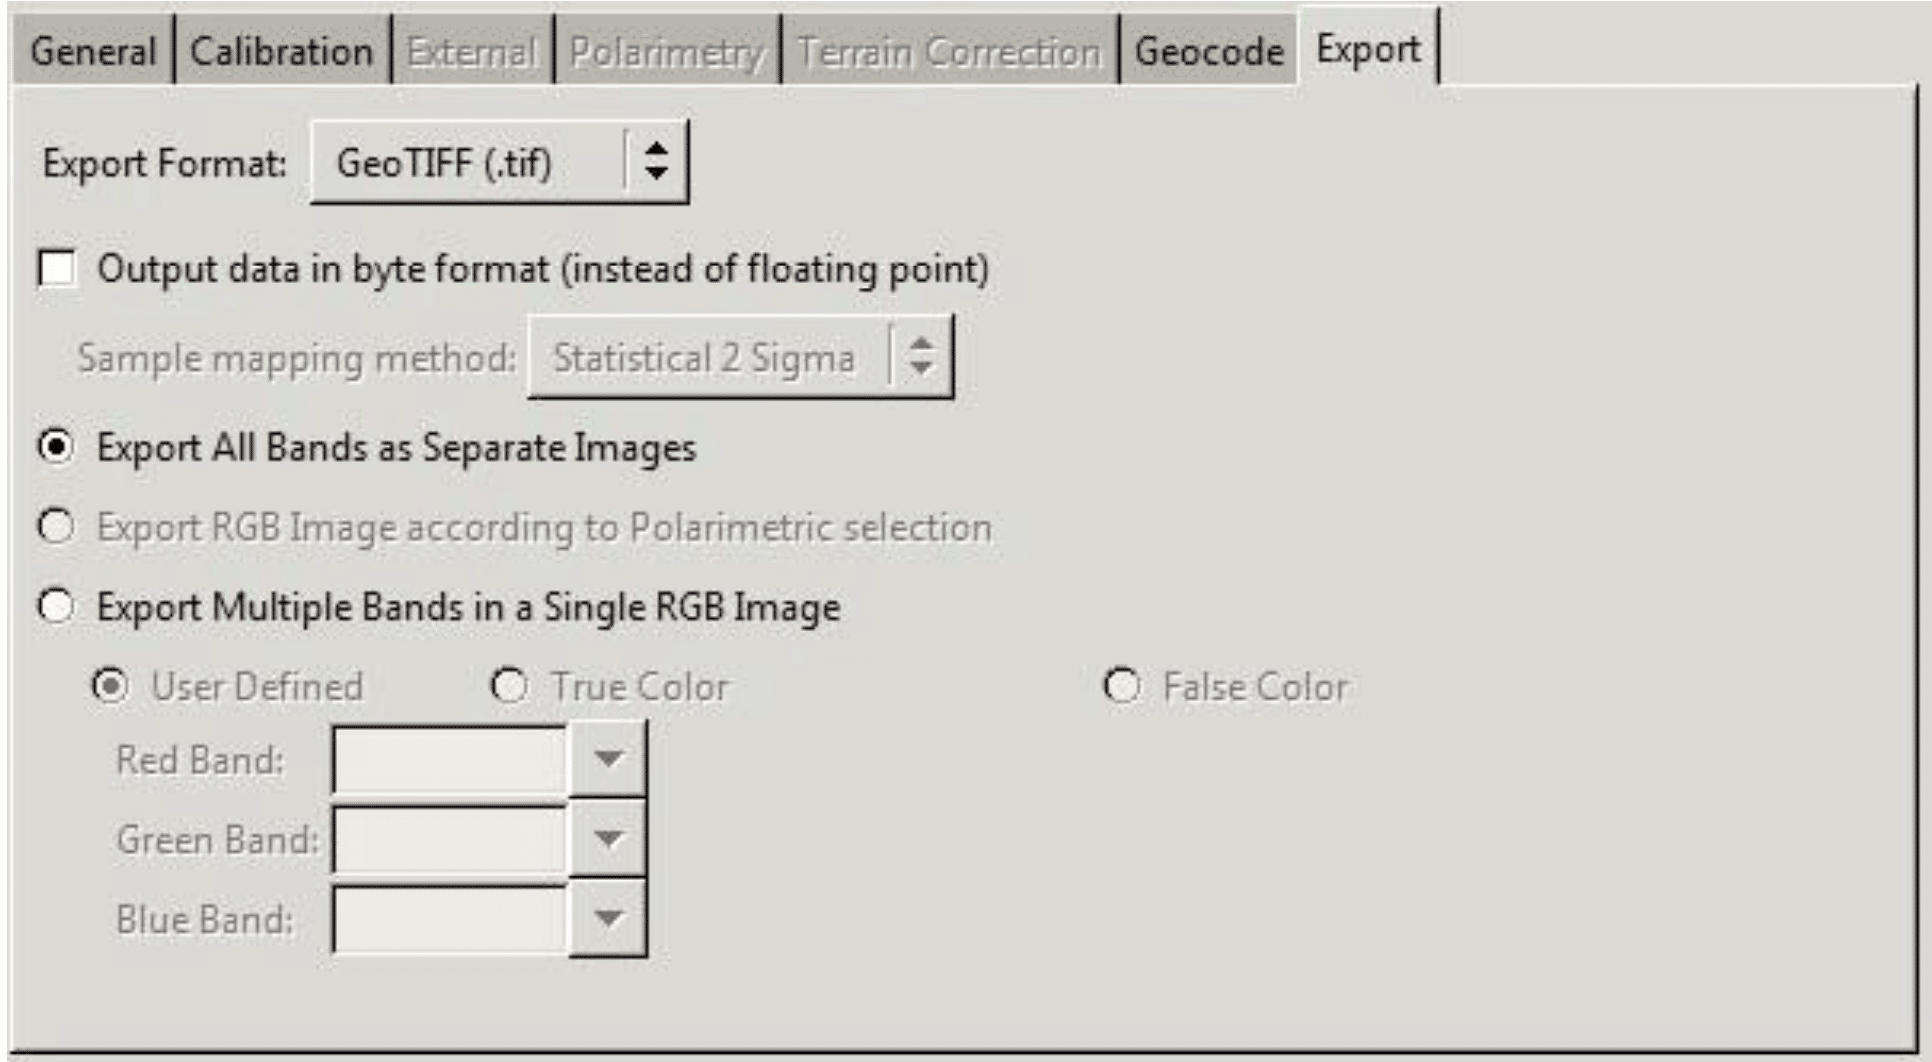
- In the Export tab, change the Export Format to GeoTIFF (.tif) for a GIS-compatible output.
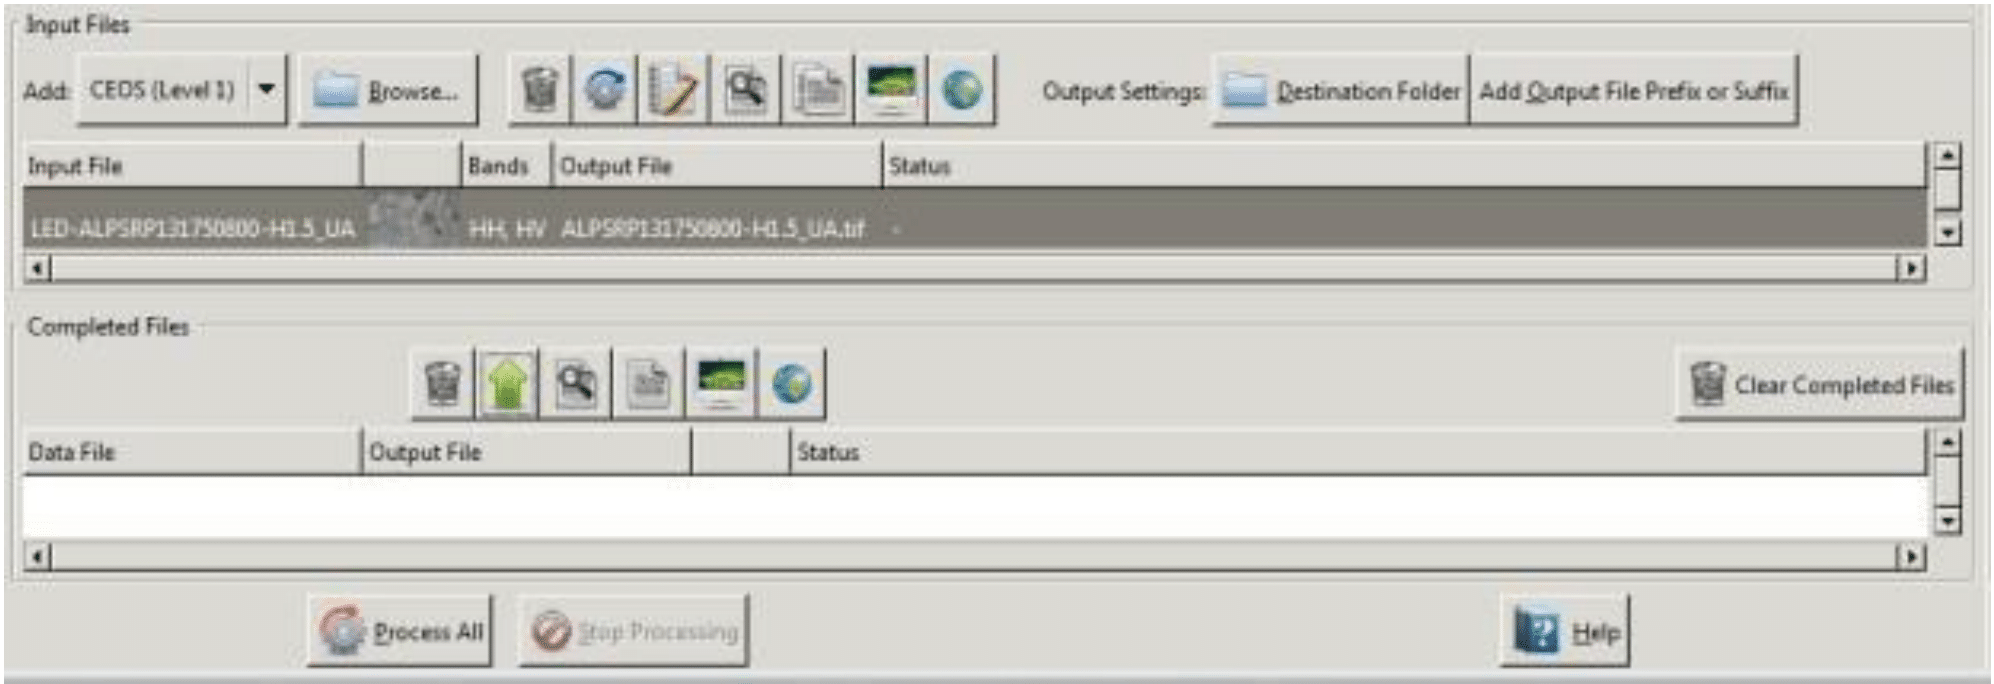
- Finally, set the Destination Folder and click Process All at the bottom of the screen.
Before and After Images
